Introduction
LedgerSeva is a complete business management platform built specifically for E-Seva and Common Service Centre (CSC) operators. It brings together customer service, accounting, staff management, and reporting into one place, so a centre owner can run receipts, payments, AEPS/DMT cash transactions, loans, and government-service bookkeeping without juggling separate registers or spreadsheets.
This manual walks through every module of the application using real screenshots from a live LedgerSeva instance. Use the guided sidebar to jump directly to any section — your progress is tracked as you scroll.
Who this manual is for
Full access to every module, including staff accounts, permissions, backups, and licensing.
Day-to-day operational access, with permissions and Super Admin actions restricted.
Front-desk operator access, focused on receipts, payments, and customer service.
Signing In
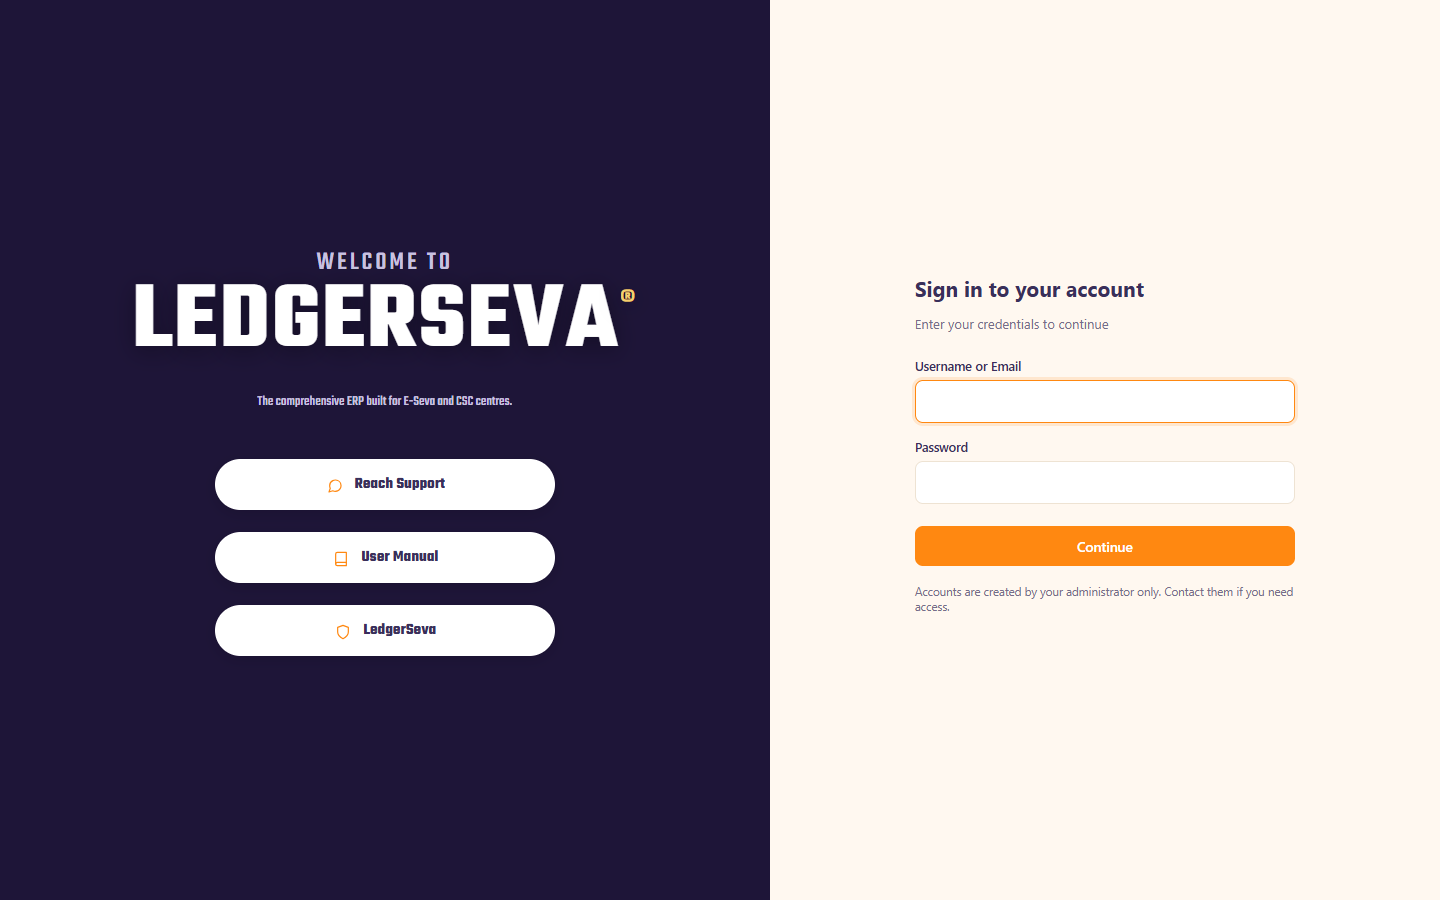
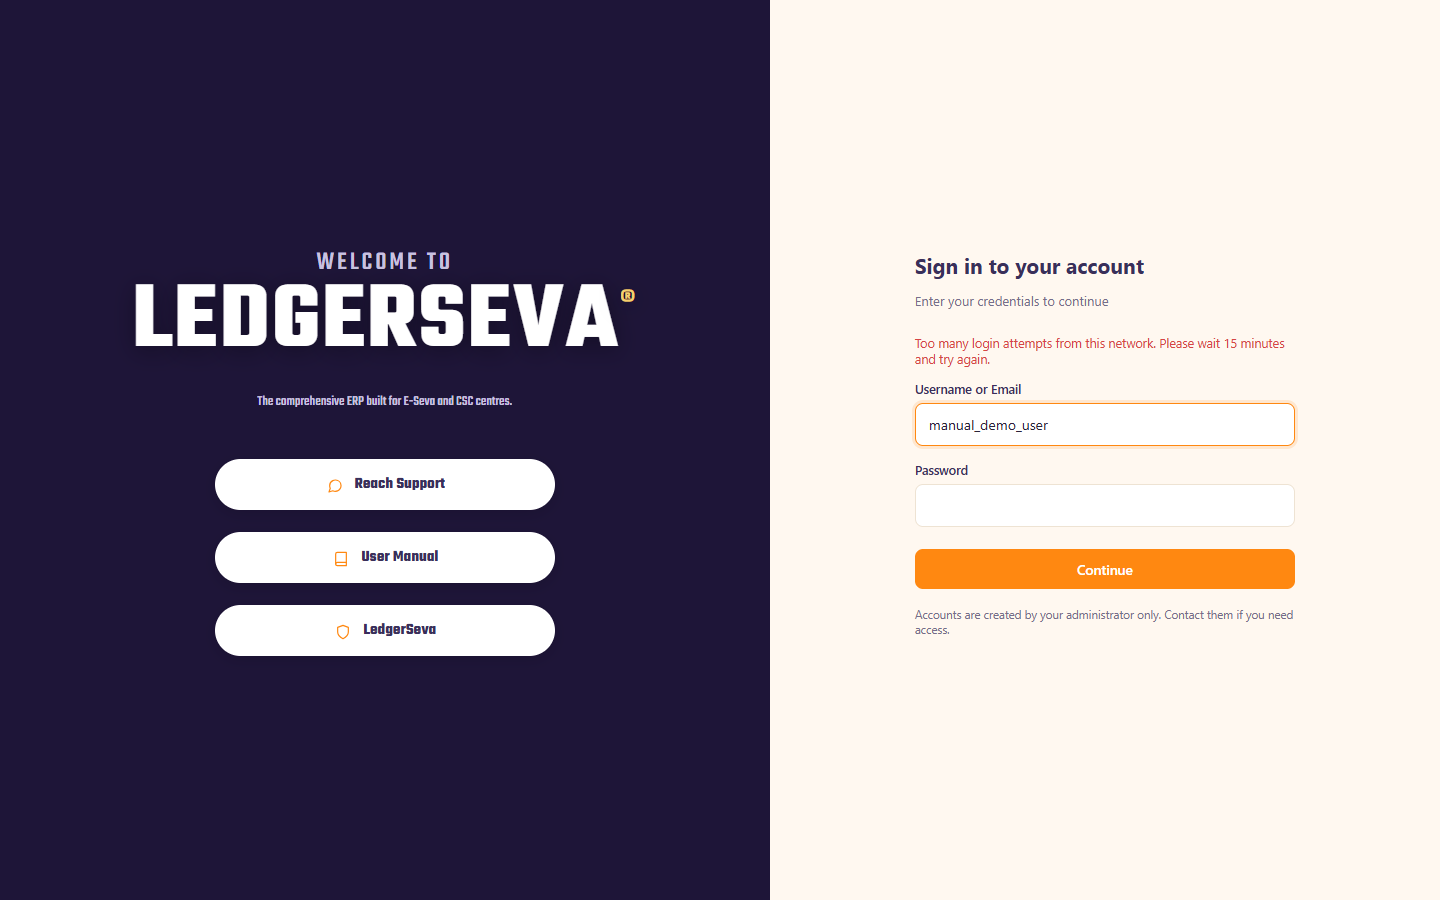
LedgerSeva does not allow self-registration — accounts are created only by an administrator from the Office Management module. To sign in, enter the username or email and password provided by your administrator.
Two-Factor Login (Email OTP)
After a correct username and password, LedgerSeva sends a 6-digit one-time code to the account's registered email address. This code must be entered within 10 minutes to complete sign-in. This two-factor step applies to every login, for every role, with no exceptions — it cannot be disabled.
Dashboard
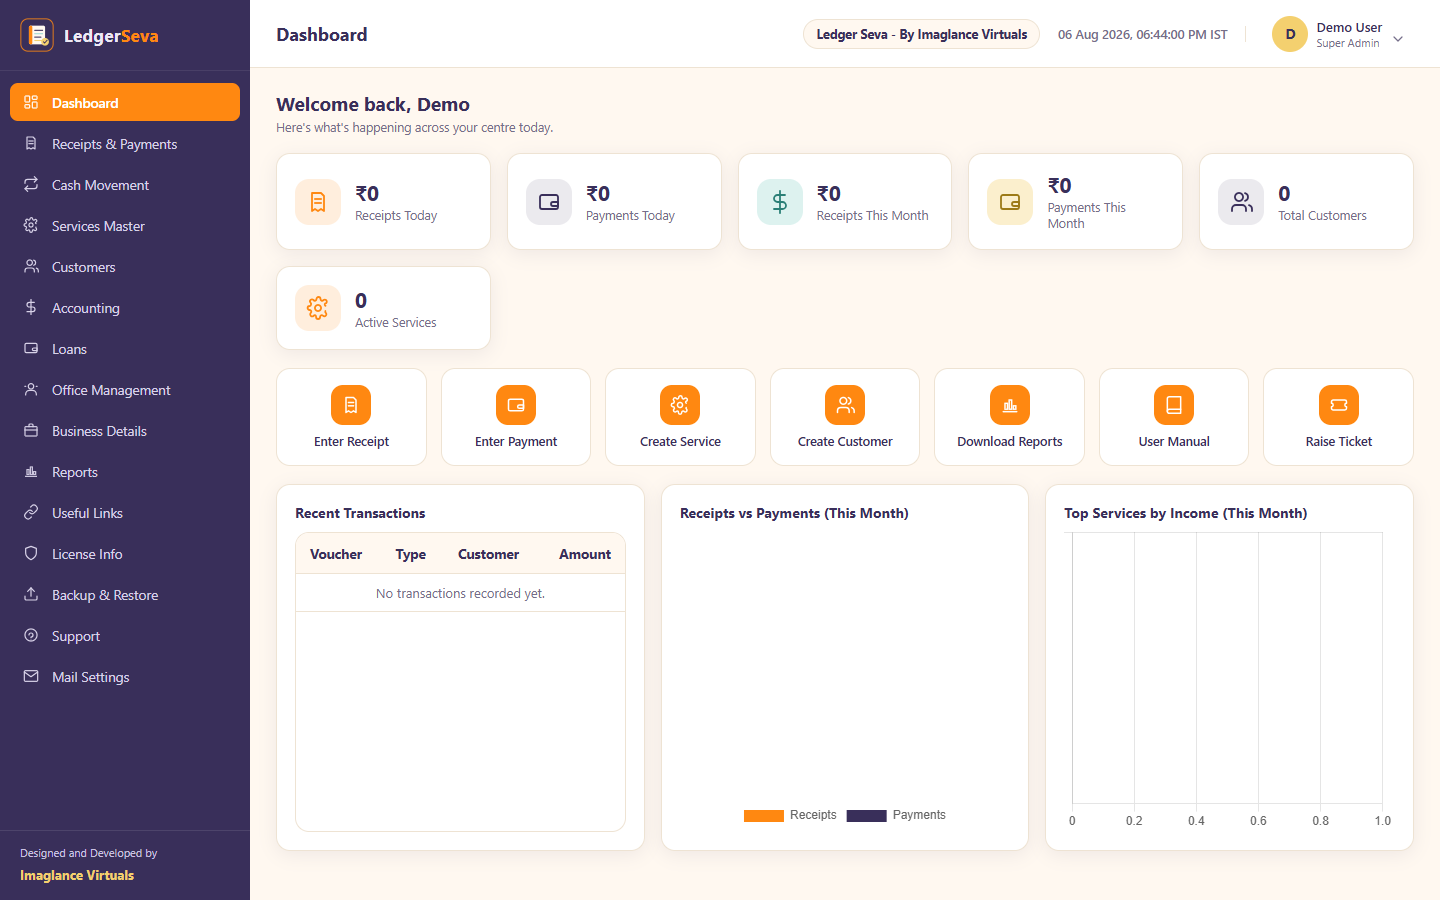
The Dashboard is the first screen you see after signing in. It gives an at-a-glance summary of the centre's activity for the day and the month, along with quick-action shortcuts to the most common tasks.
What's shown here
- Stat cards — Receipts Today, Payments Today, Receipts This Month, Payments This Month, Total Customers, and Active Services.
- Quick Actions — one-click shortcuts to Enter Receipt, Enter Payment, Create Service, Create Customer, Download Reports, User Manual, and Raise Ticket.
- Recent Transactions — the latest vouchers recorded across the centre.
- Receipts vs Payments and Top Services by Income — visual charts for the current month.
Receipts & Payments
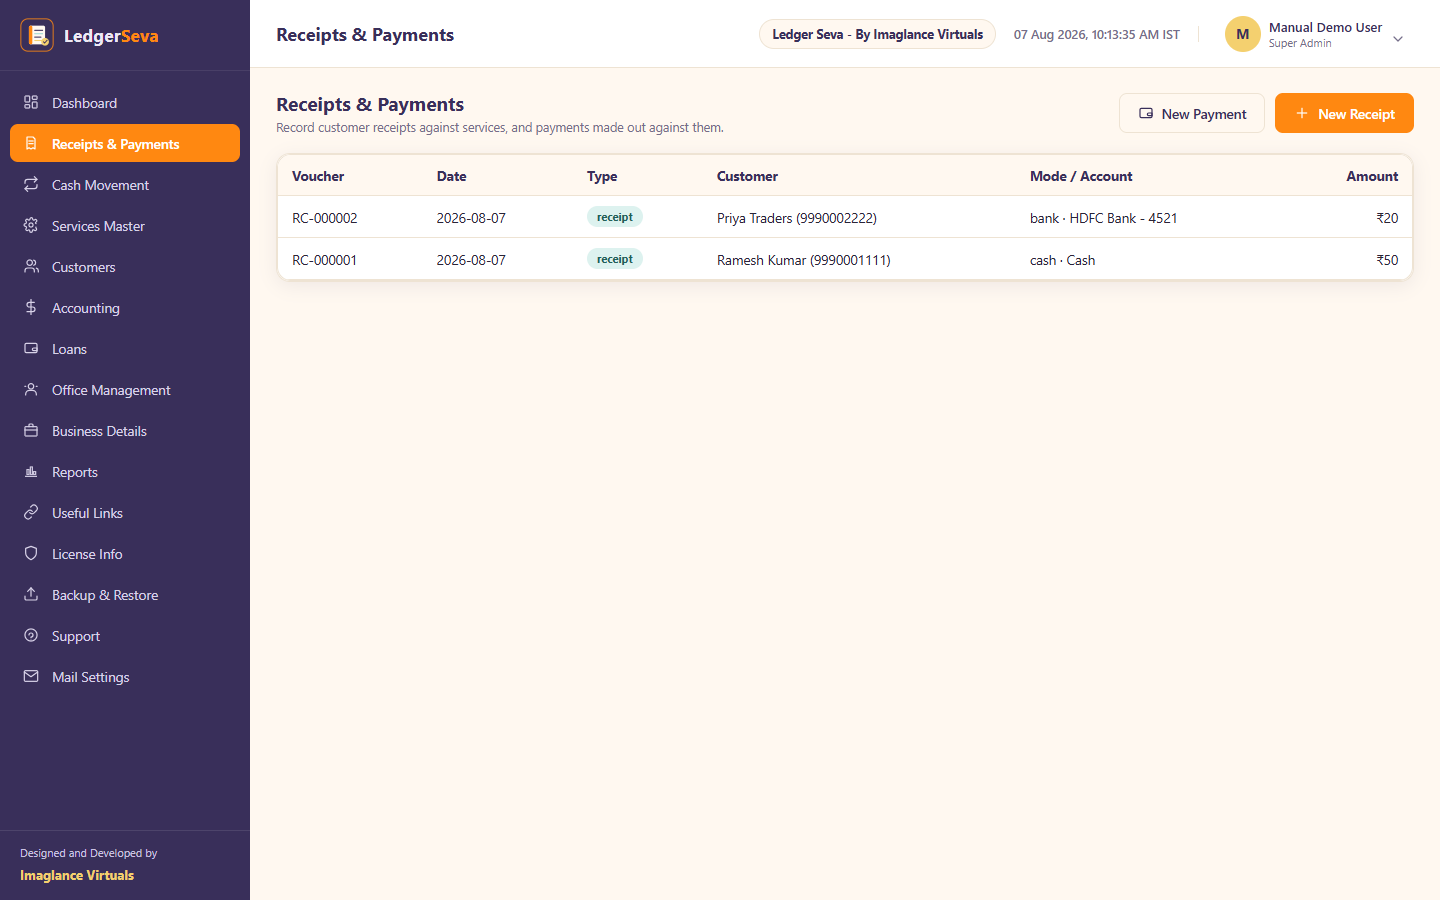
This is the core transaction module — every rupee a customer pays for a government service, and every expense the centre pays out, is recorded here as a voucher.
Recording a Receipt
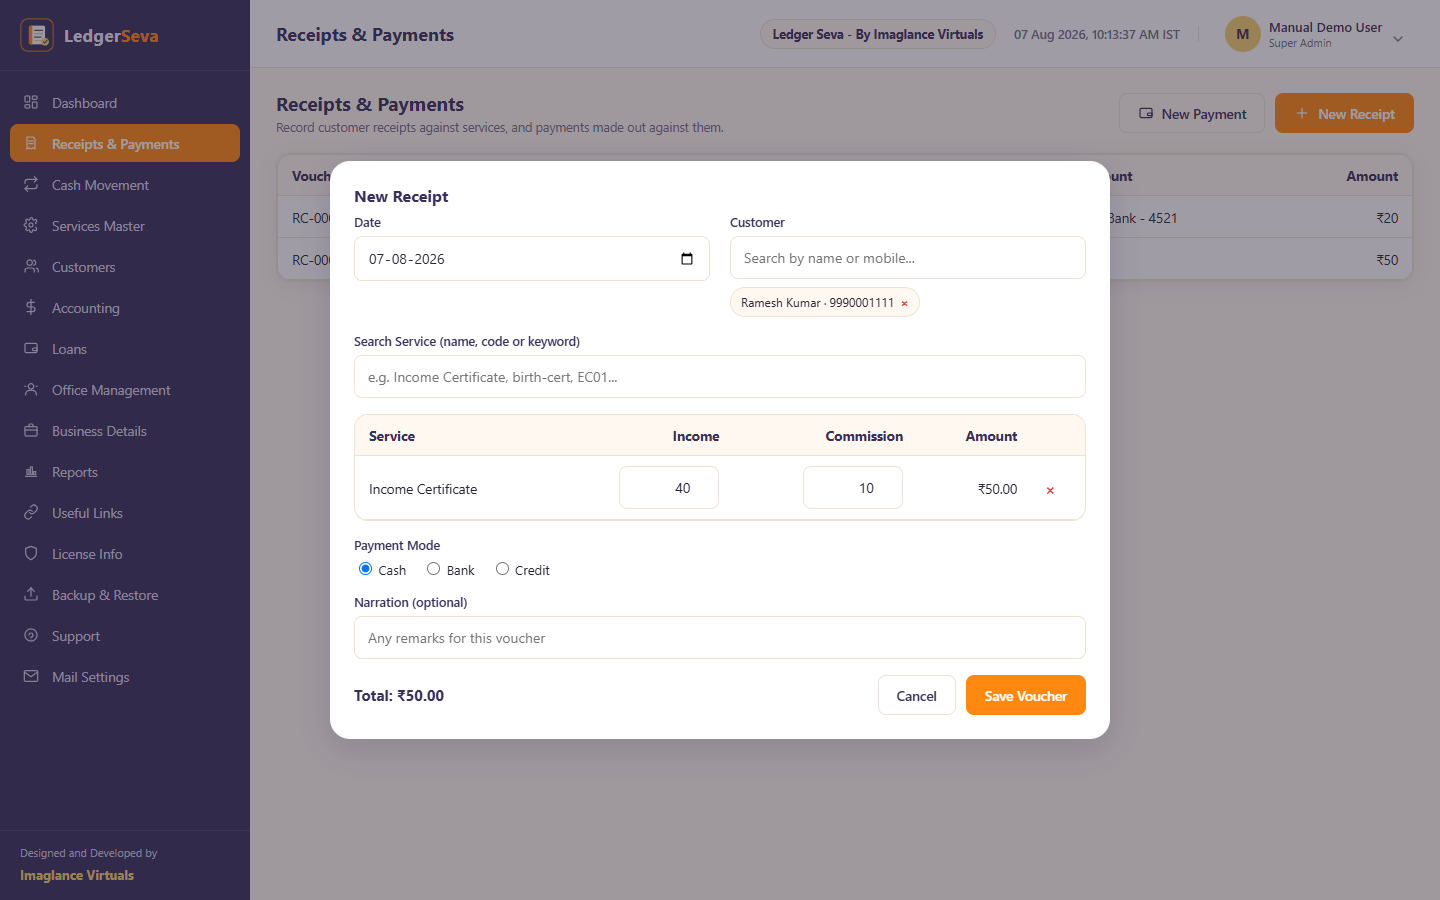
Income vs. Commission
Each service line carries two components — your Income (what the centre earns) and the Commission (the pass-through portion, such as a government fee), which together make up the line total.
RC-000001, payments as PY-000001 — assigned automatically and never editable, so your audit trail stays clean.A third option — Credit — lets a customer take the service now and pay later. See Credit Sales & Receivables for the full flow.
Credit Sales & Receivables
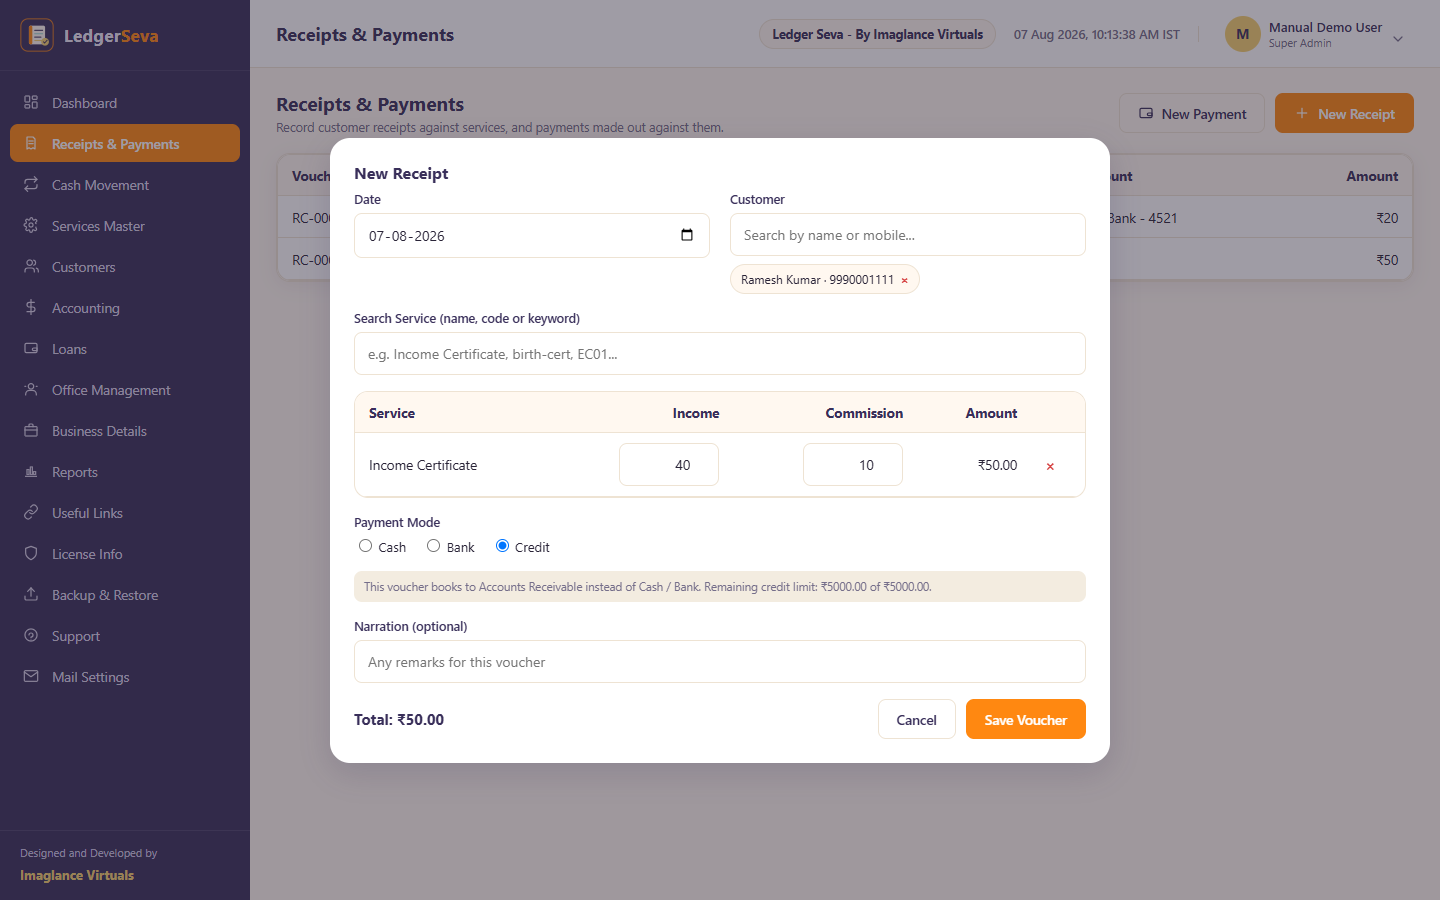
Sometimes a customer takes the service now but pays later. Instead of forcing every receipt into Cash or Bank, LedgerSeva lets you mark it Credit — the sale is still recorded and the income still booked immediately, but the money owed sits in Accounts Receivable until the customer actually pays.
Recording a Credit Sale
Credit Vouchers in the Register
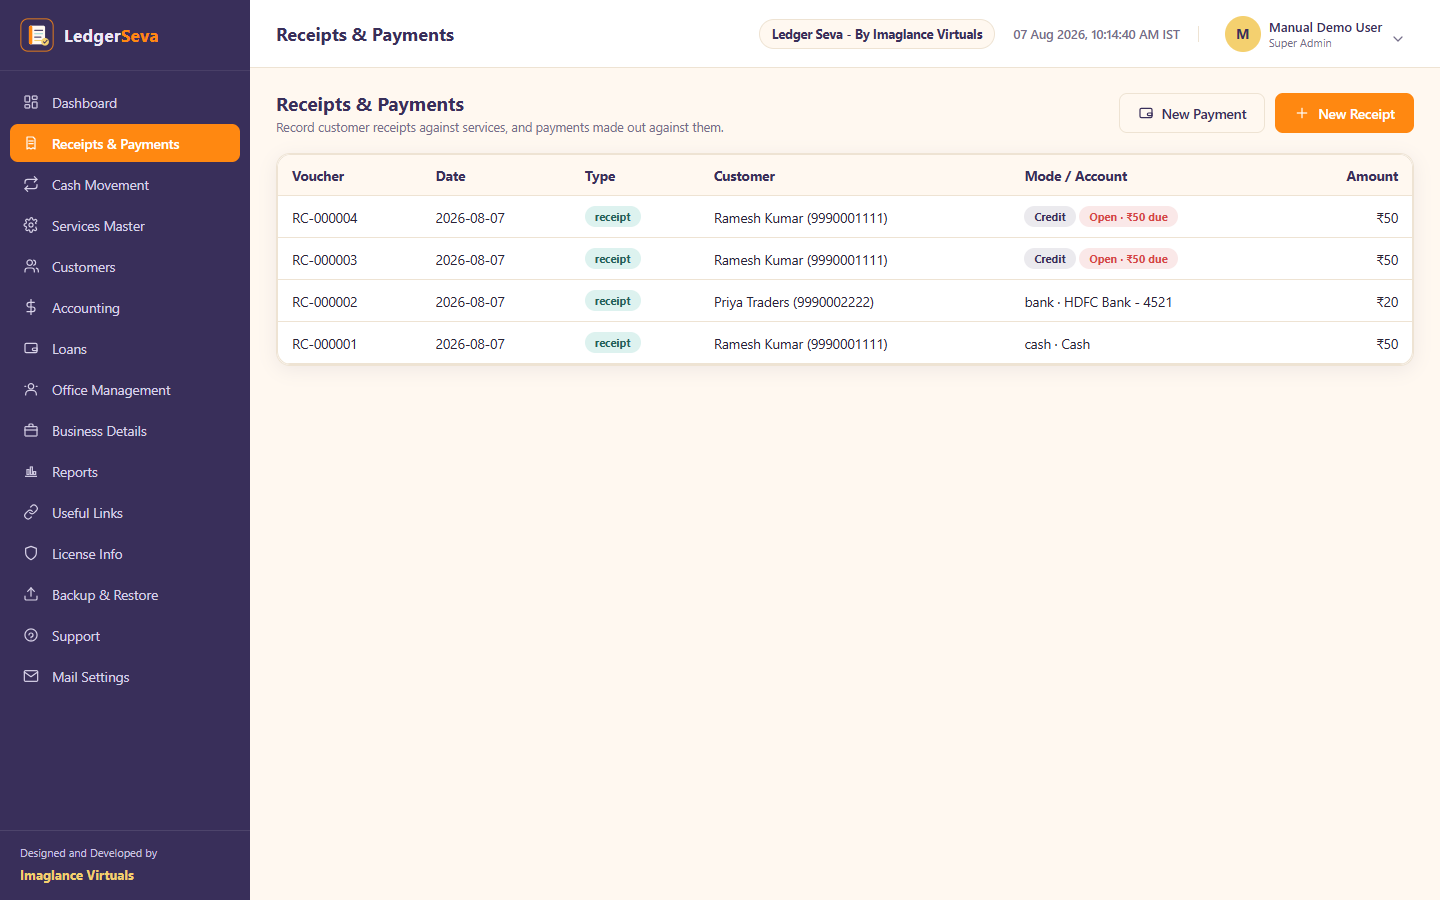
Credit-mode vouchers are badged in the Receipts & Payments register so you can see at a glance what's outstanding — Open (nothing paid yet), Partial (some paid), or Settled (fully paid).
Collecting Payment Later
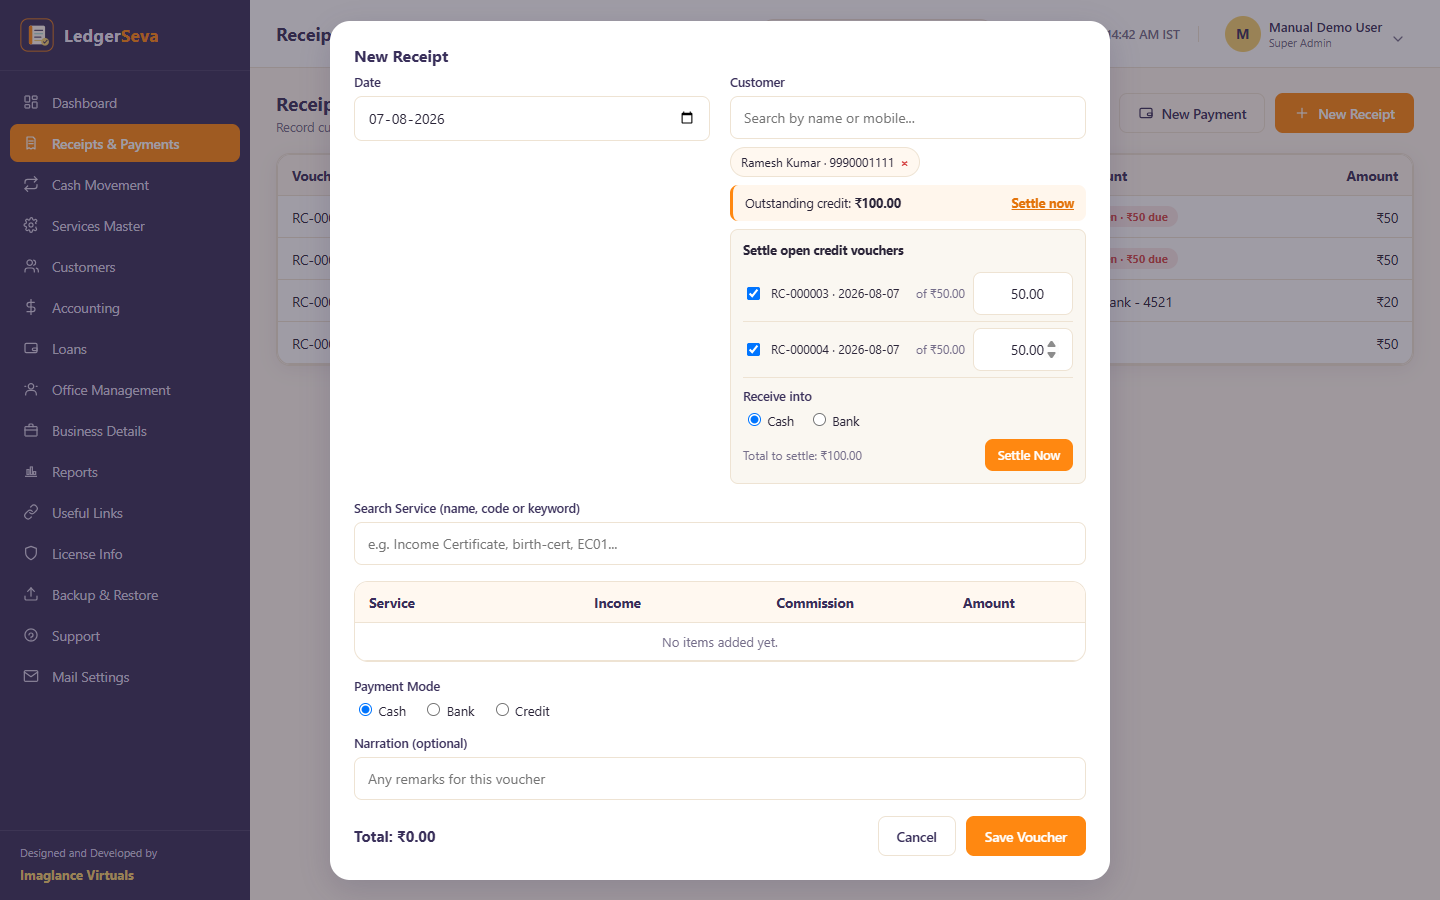
When the customer comes back to pay, just start a New Receipt and search for them as normal — if they have an outstanding balance, a banner appears right inside the form.
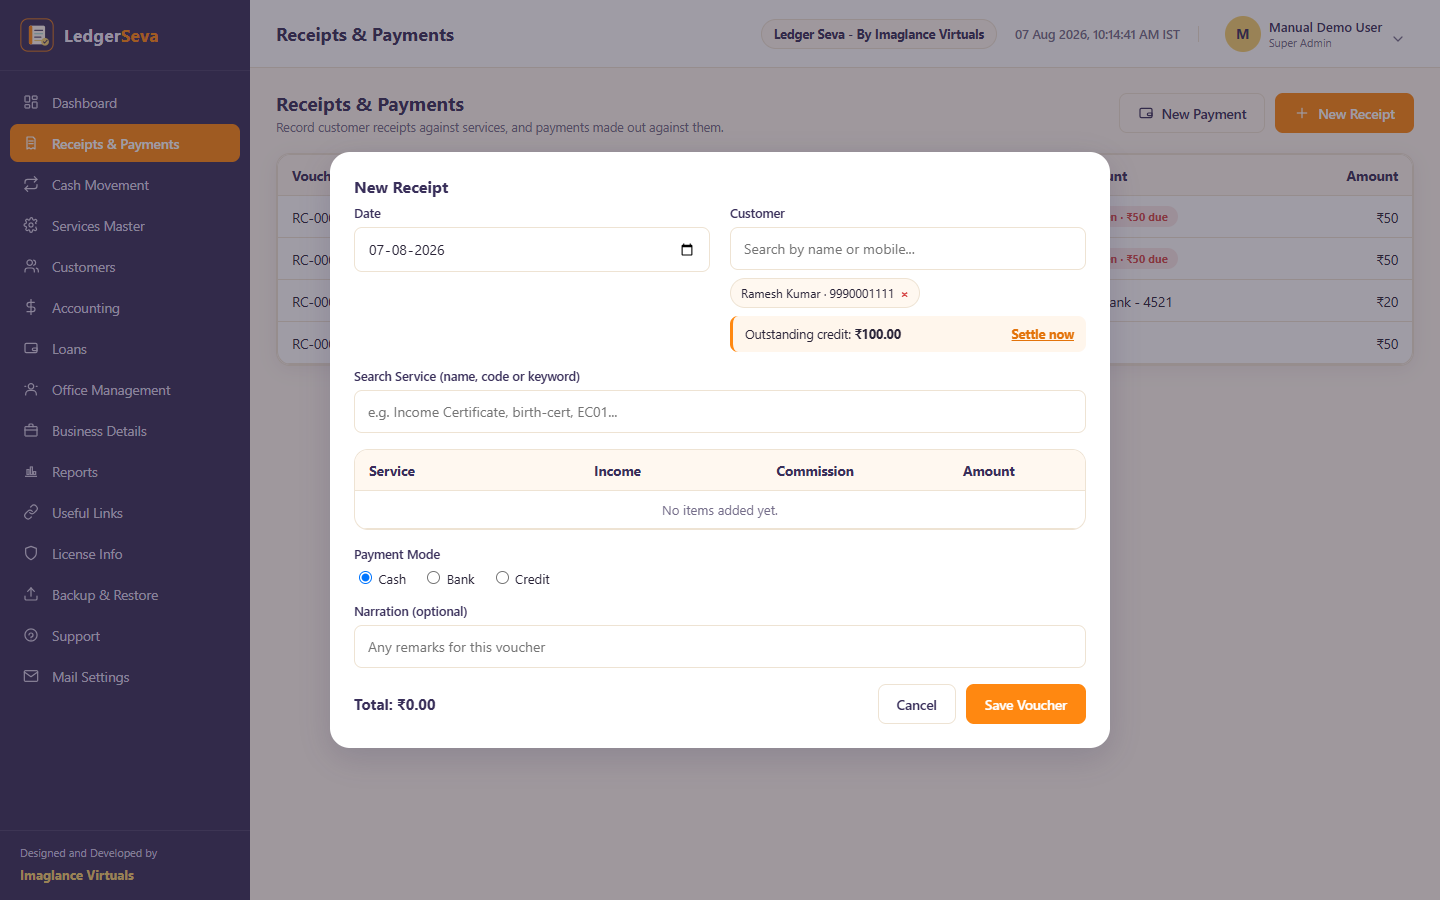
Click Settle now to expand a panel listing every open voucher for that customer. Each one can be paid off fully or partially — untick a voucher to skip it, or edit the amount for a partial payment — then pick Cash or Bank for where the money actually lands.
Setting a Credit Limit
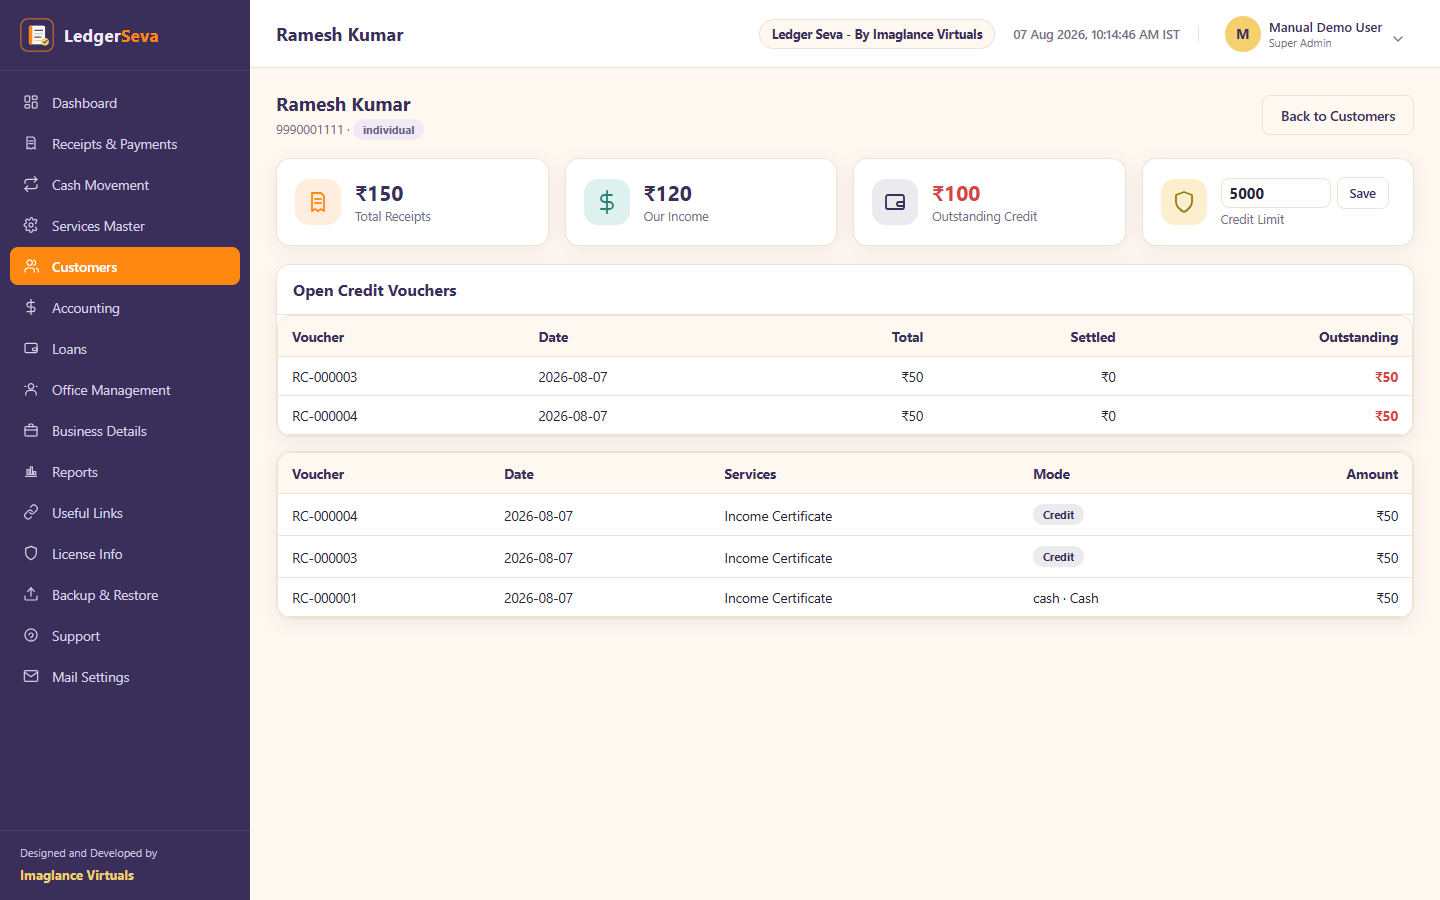
Open a customer's own page from the Customers module. A Super Admin or Admin can set or change the Credit Limit there directly — the same page also shows their current outstanding balance and a table of every open credit voucher.
Receivables Report
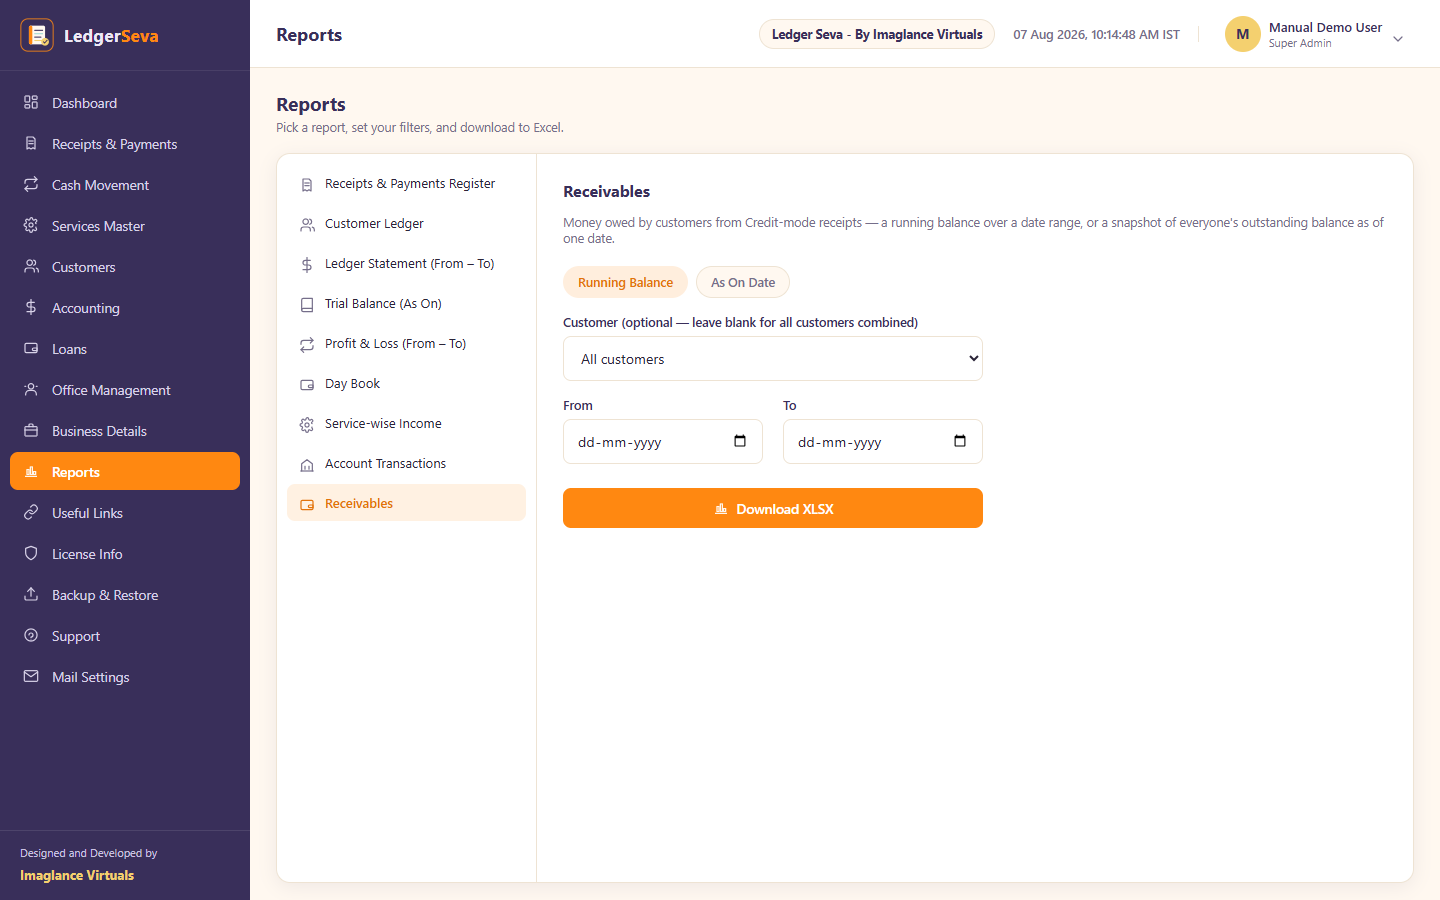
Reports → Receivables gives two views of what's owed: a Running Balance (every credit sale and settlement in a date range, with a running total — for one customer or all combined), and an As On Date snapshot of every customer's outstanding balance as of a chosen day, including how long each amount has been outstanding.
Cash Movement (AEPS / DMT)
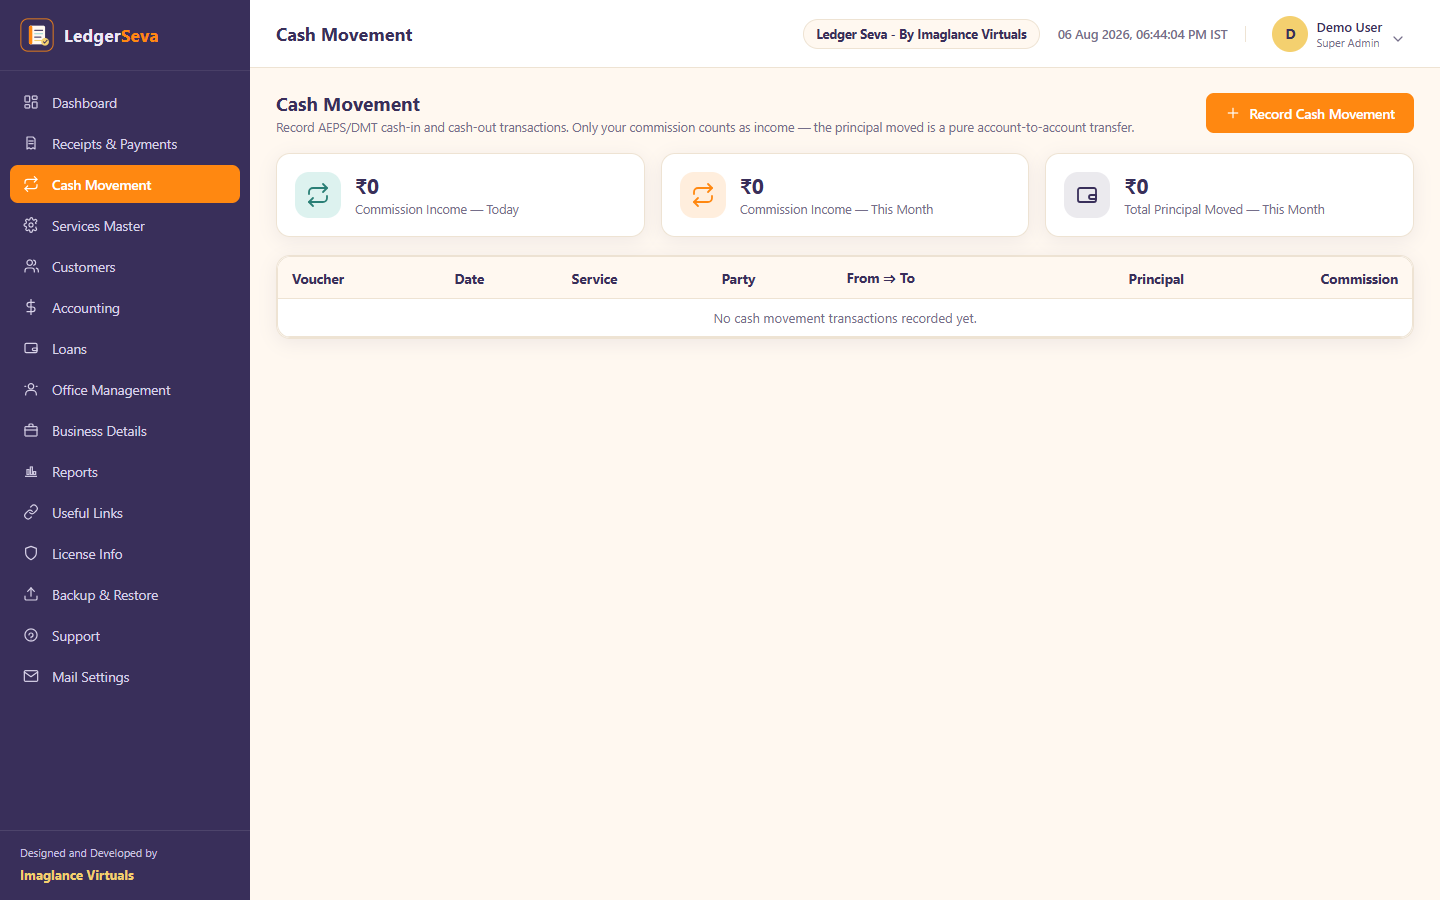
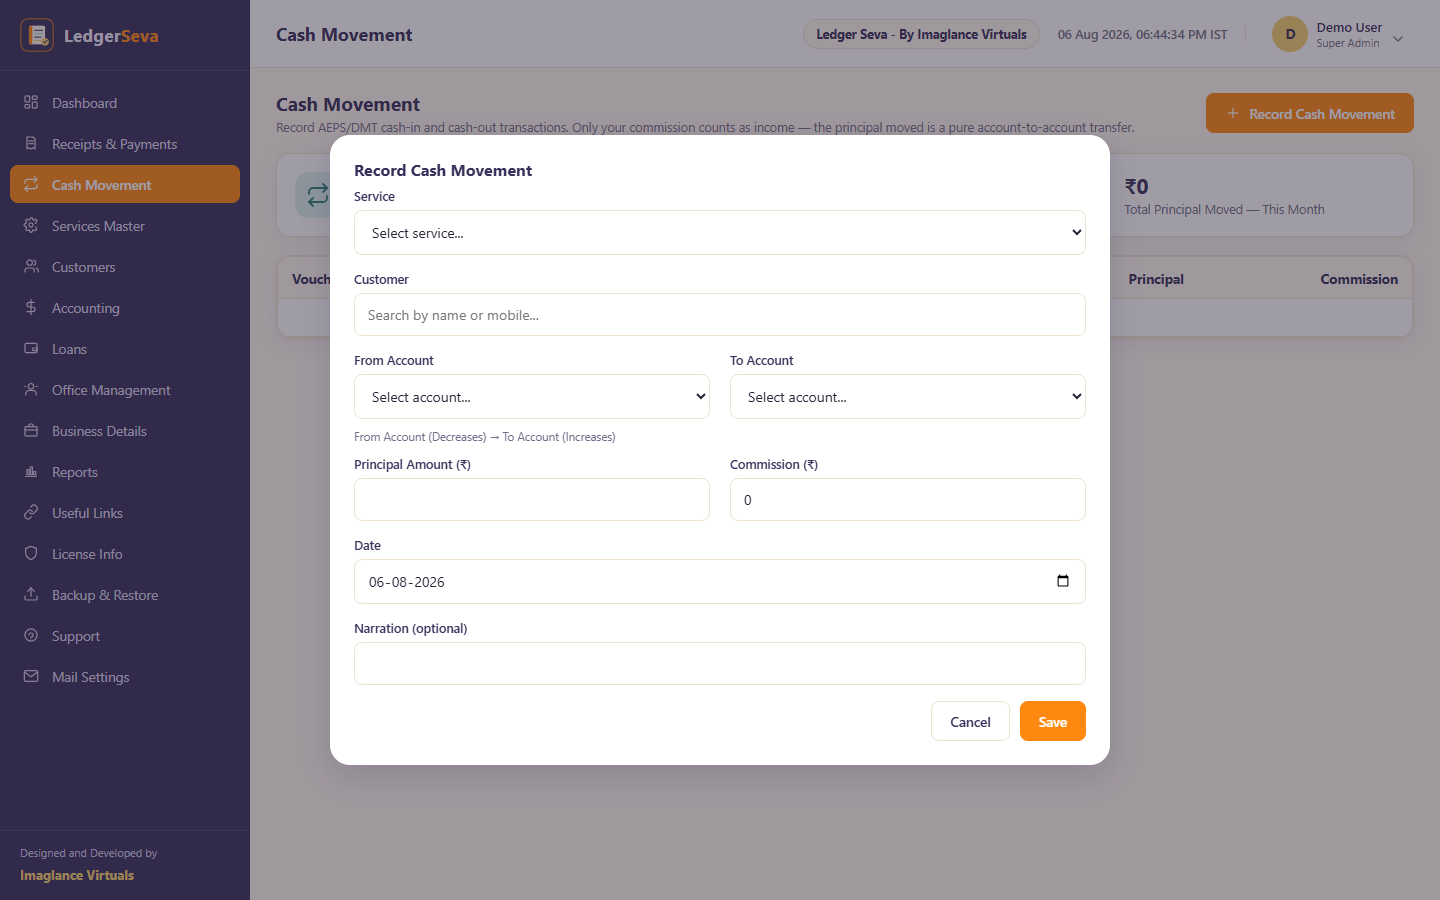
Cash Movement is a dedicated module for AEPS (Aadhaar Enabled Payment System) and DMT (Domestic Money Transfer) services — the cash-in/cash-out transactions common at CSC centres. It solves a bookkeeping problem generic accounting tools get wrong: only your commission should count as income, while the much larger principal amount being moved is a pure transfer between accounts, not turnover.
Recording a Transaction
Services Master
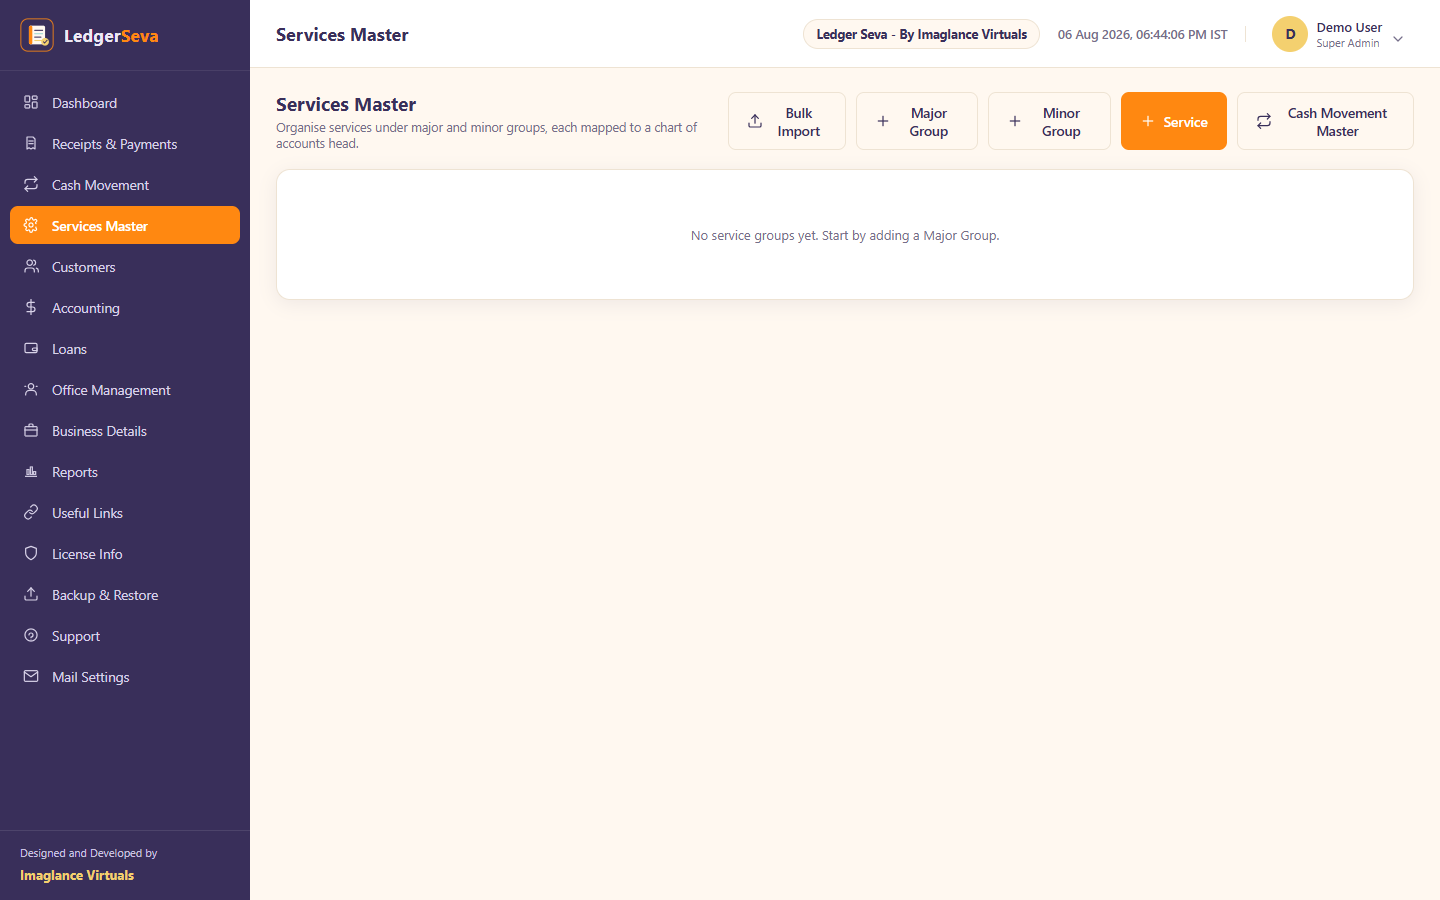
Services Master is where every service your centre offers is catalogued — from certificates and licenses to bill payments — each with a default income and commission amount, and mapped to a specific ledger in your Chart of Accounts.
Structure
Services are organised in a two-level hierarchy: Major Groups containing Minor Groups, which in turn contain individual Services — each with a name, a unique code, default income/commission amounts, and a toggle for whether staff can edit those amounts at entry time.
Cash Movement Master
A separate, simpler list lives alongside the main catalog specifically for Cash Movement — just service names (e.g. AEPS Withdrawal, DMT Transfer) with no pricing attached, since those transactions use variable amounts entered per transaction.
Customers
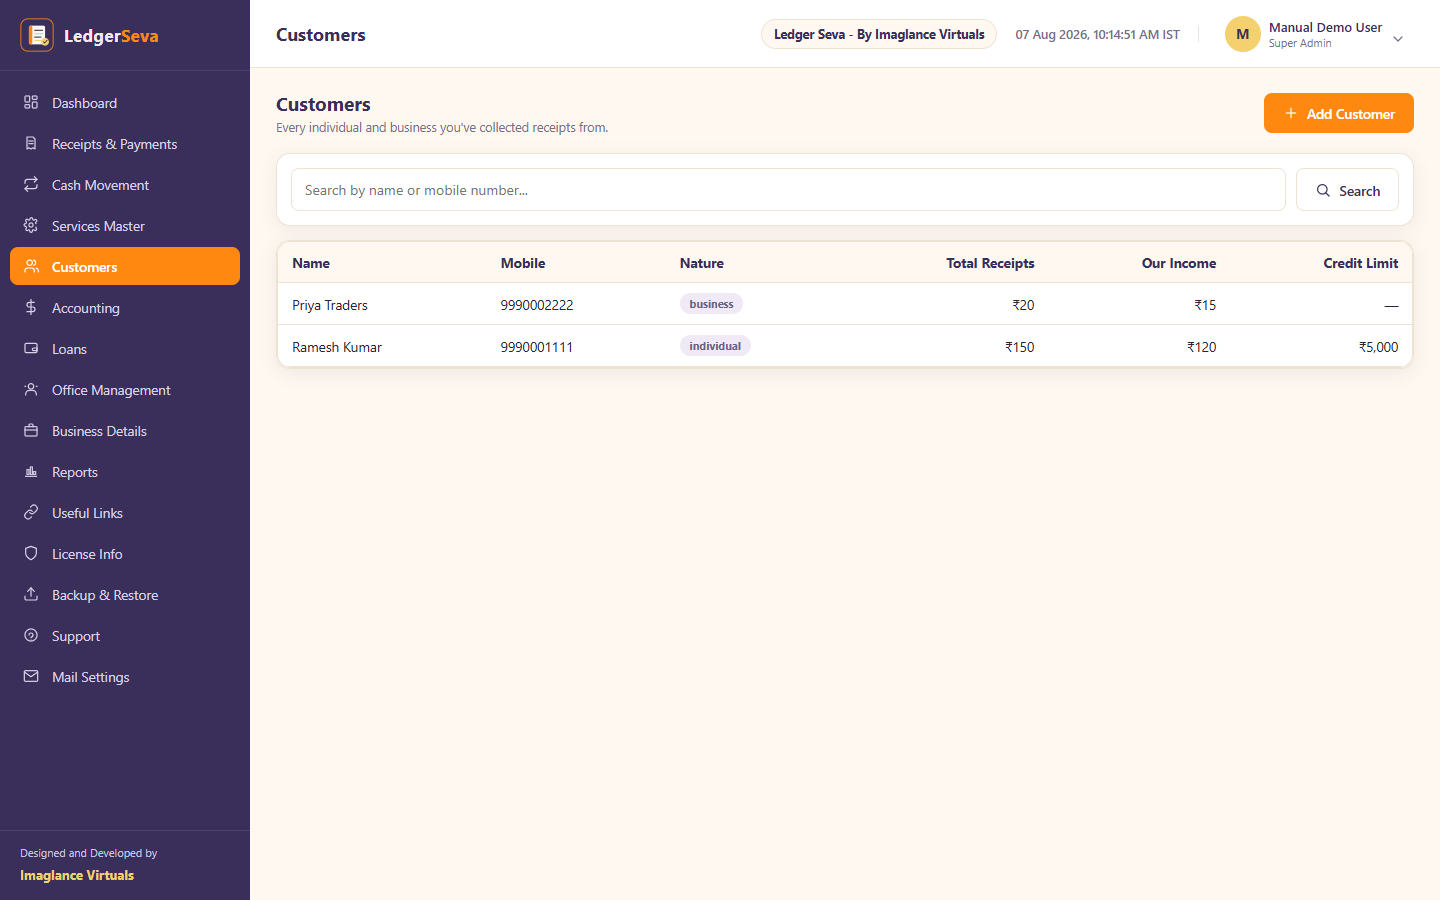
Every individual or business that transacts with the centre is tracked here, with a running history of receipts and income generated from that customer.
Adding Customers
Customers can be added directly from this page, or "quick-added" on the fly from within the Receipts & Payments or Cash Movement forms simply by typing a mobile number — if no match is found, you're prompted for a name and Individual/Business status, and the record is created instantly.
Customer Detail
Clicking any customer opens their detail page — full contact information alongside a complete transaction history for that customer, so a quick lookup answers "what has this person paid, and for what" without digging through the main register. This is also where a Super Admin or Admin sets the customer's Credit Limit and reviews any open credit vouchers — see Credit Sales & Receivables.
Accounting
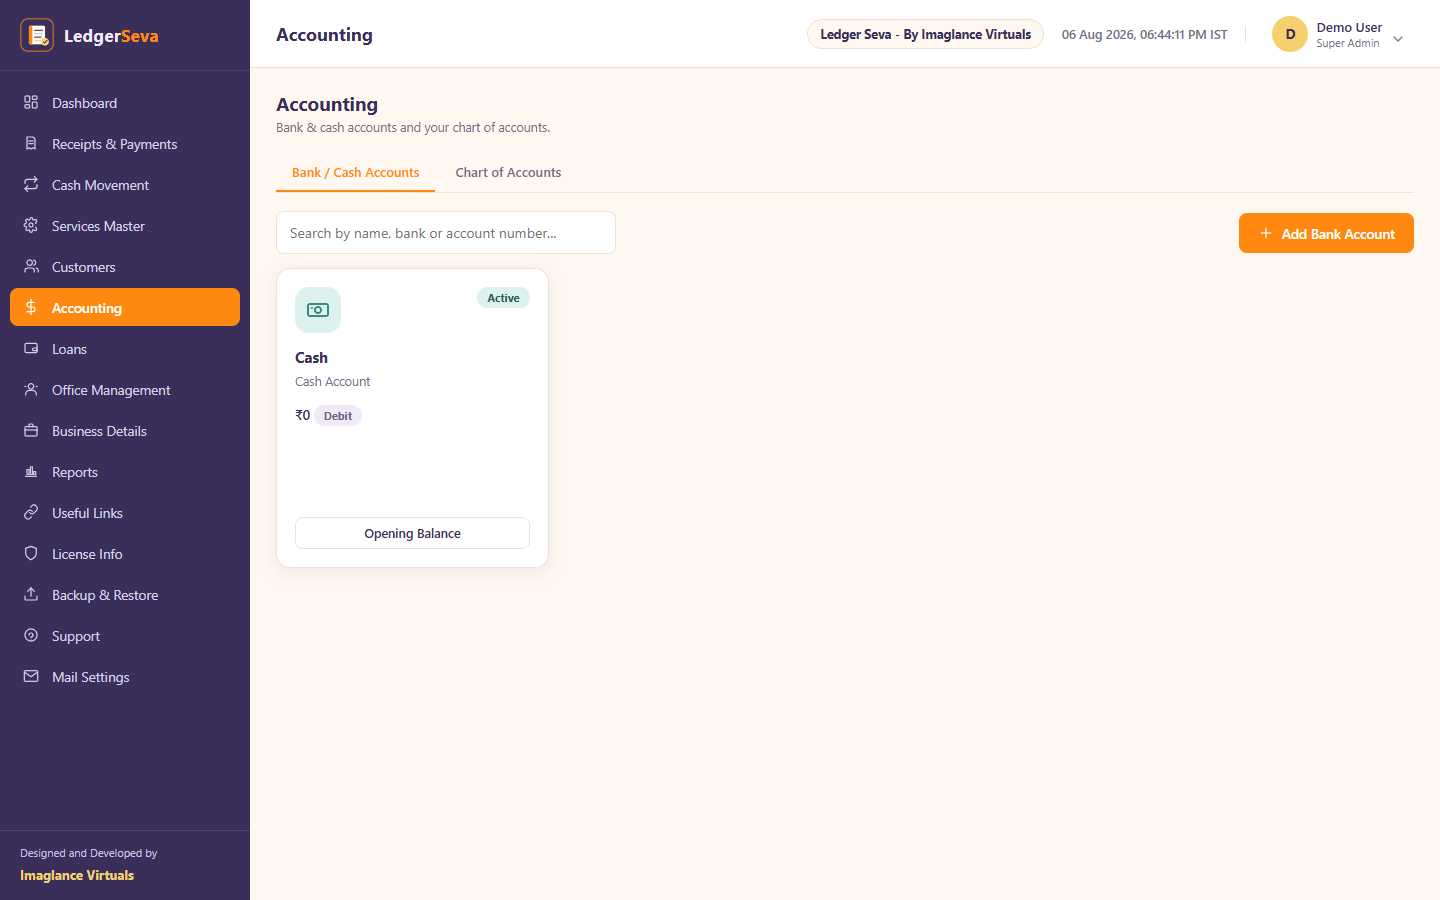
The Accounting module holds your Chart of Accounts and every Cash/Bank account the centre operates, forming the backbone of all financial reporting. It's split into two tabs: Bank / Cash Accounts and Chart of Accounts.
Bank / Cash Accounts
Every physical account the centre uses — the till, bank accounts, and provider wallets — is registered here, shown as a portrait card with its current opening balance and Debit/Credit type. The default system Cash account always exists and cannot be deleted; every other account is fully managed by the Super Admin.
Chart of Accounts
A Tally-style structure — Direct Income, Indirect Income, Direct Expenses, Indirect Expenses, Current Assets, Current Liabilities, Fixed Assets, Long Term Liabilities, Cash & Bank, and Business Capital — each holding the ledgers relevant to your business.
Loans
Tracks money the centre lends out or borrows — separate from day-to-day service income, but still fully reflected in your accounts as a contra entry rather than revenue.
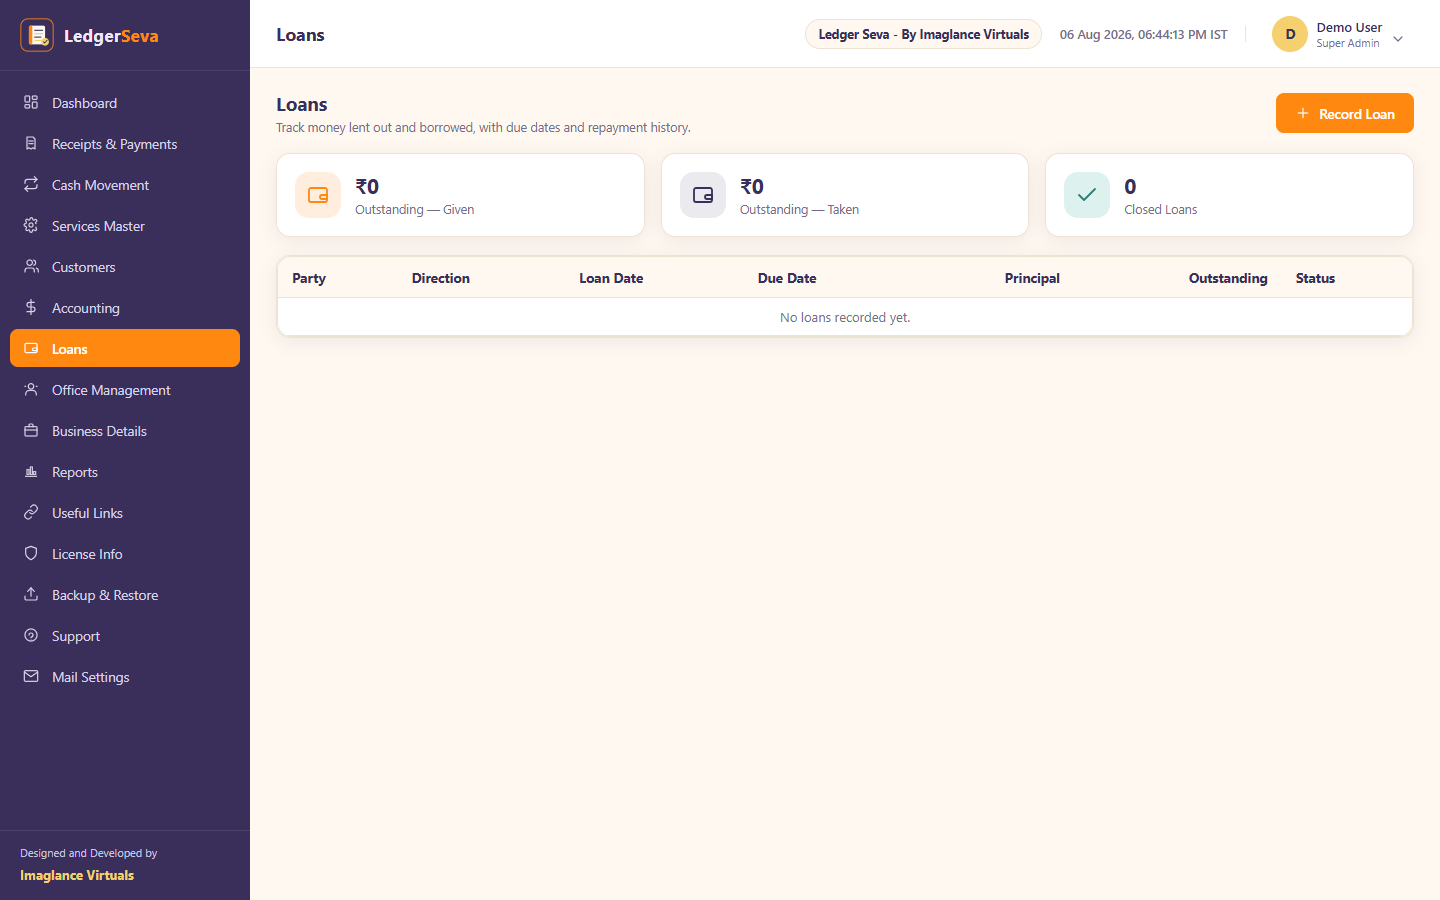
Recording a Loan
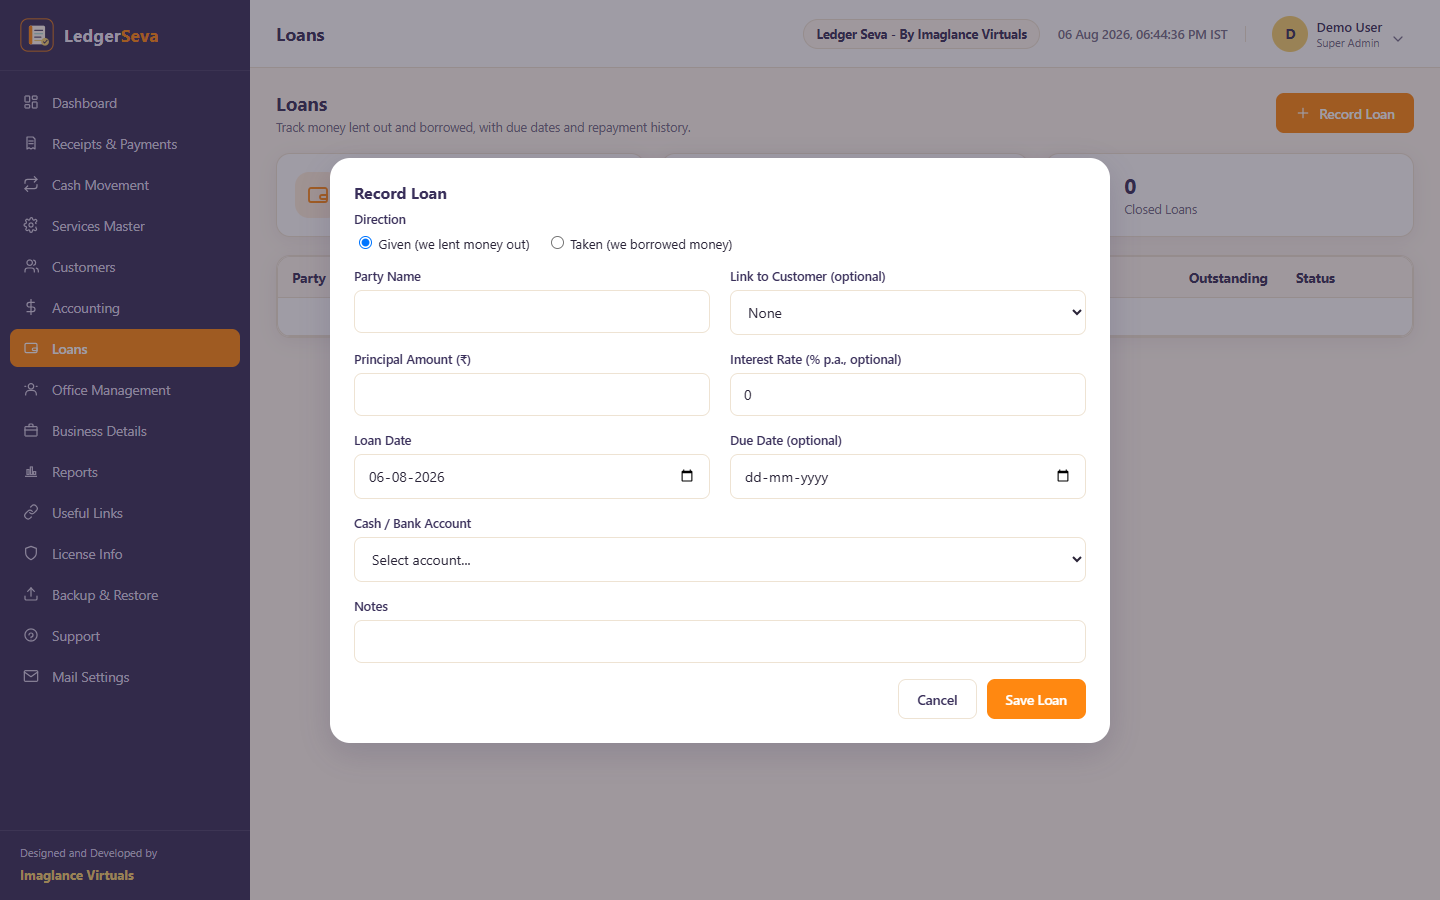
Opening an individual loan lets you record repayments against it over time. Once the outstanding balance reaches zero, the loan is automatically marked Closed.
Office Management
Office Management is where the Super Admin controls staff access — creating accounts, assigning roles, configuring exactly what each role is permitted to do, and white-labelling the app's branding. The page is organised into four tabs: Users, Roles & Permissions, Audit Log, and (Super Admin only) Branding.
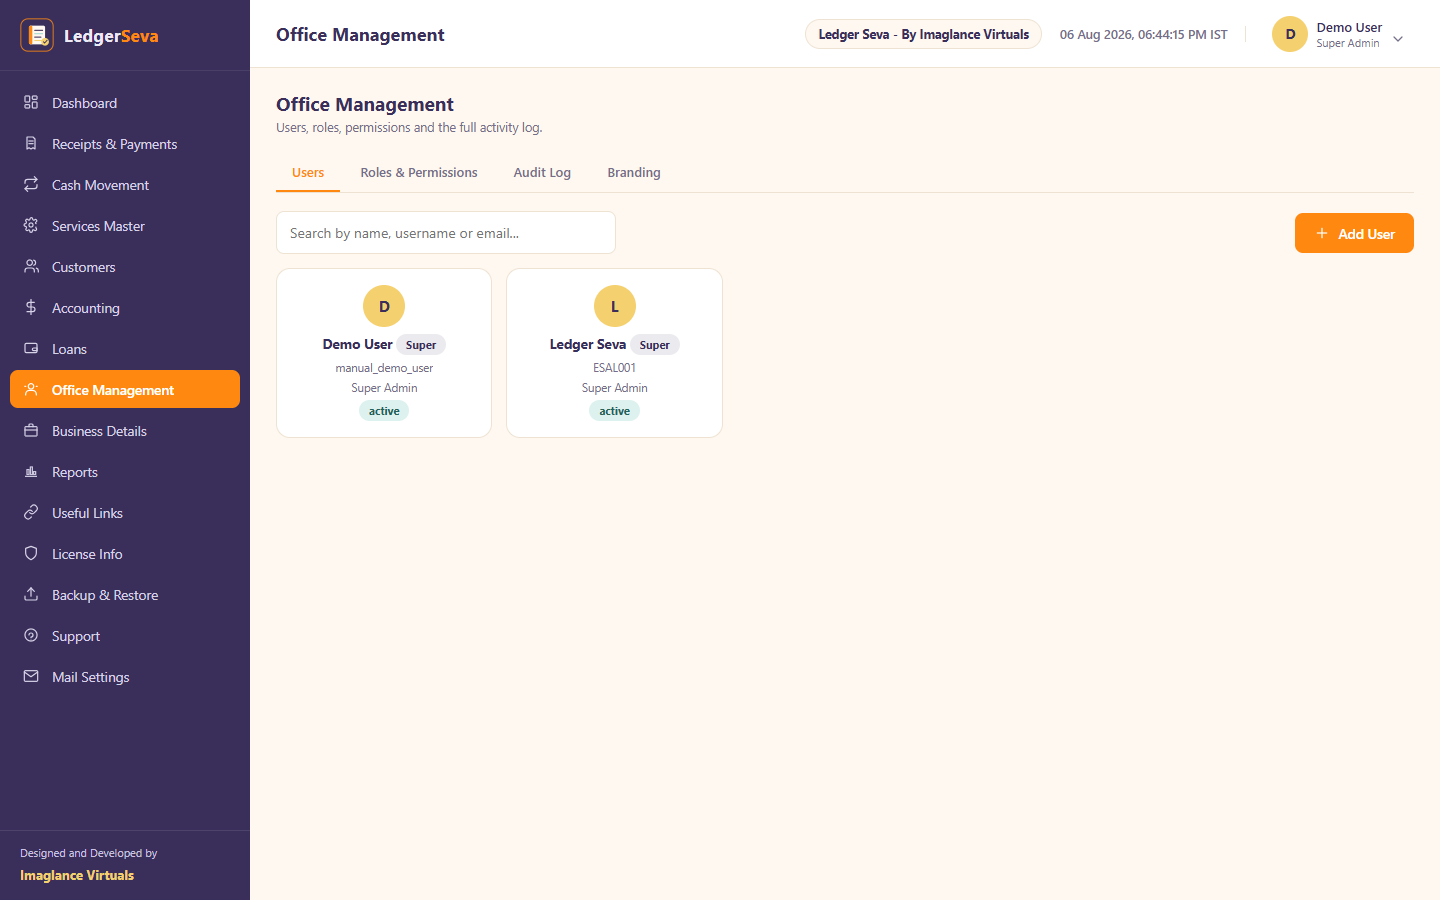
Users tab
Lists every account at the centre with their role and status. From here a Super Admin or Admin can create a new user, change an existing user's role, deactivate an account, or reset a user's password on their behalf.
Roles & Permissions tab
A permissions matrix lets the Super Admin control, module-by-module, exactly what the Admin and Staff roles can see and do — each module can be toggled between no access, view-only, or full access. This is the mechanism behind the default role behaviour below.
Unrestricted access to every module, including permissions themselves — this role's own access can never be restricted.
Broad operational access by default — cannot modify role permissions or reset the Super Admin's password, regardless of what's granted elsewhere.
Front-desk access, limited by default to Dashboard, Receipts & Payments, Cash Movement, Customers, and Support.
Audit Log tab
A running, read-only history of sensitive actions across the centre — logins, user and permission changes, branding updates, deletions, and backup/restore events — each entry stamped with who did it and when, so nothing important happens without a trace.
Branding
The Super Admin can white-label the interface with the centre's own identity, replacing the default LedgerSeva mark shown in the sidebar and top bar.
Business Details
Stores the centre's own business profile information — used for reference and, where relevant, printed on reports and documents. Staff see this page read-only; only Admin and Super Admin can edit it.
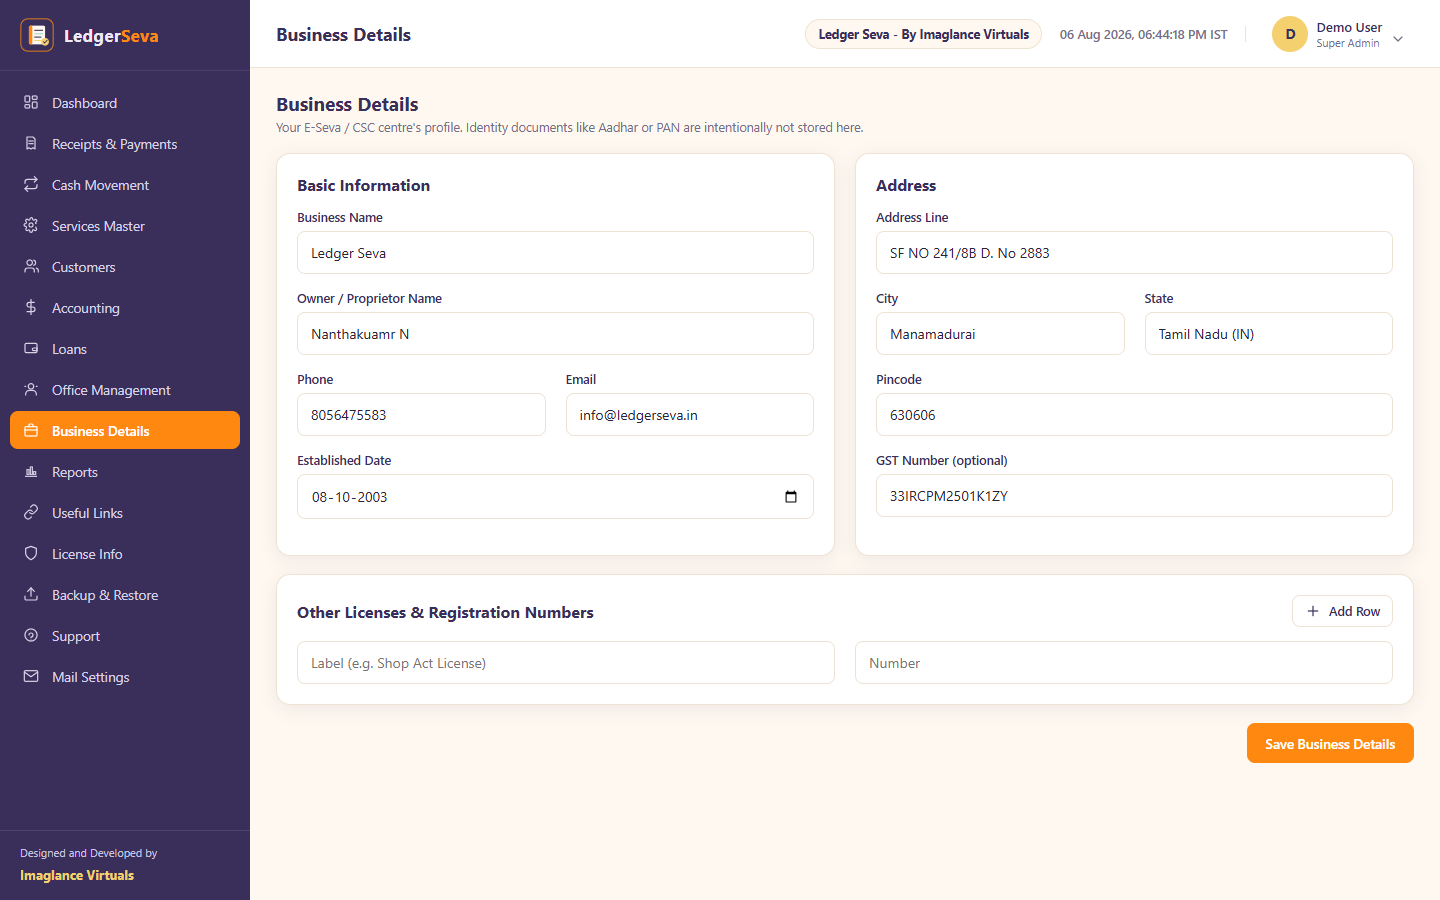
Fields tracked
- Business identity — Business Name, Owner/Proprietor Name, Phone, Email, Established Date.
- Address — Address Line, City, State, Pincode.
- Tax — GST Number (optional, for centres that are GST-registered).
Reports
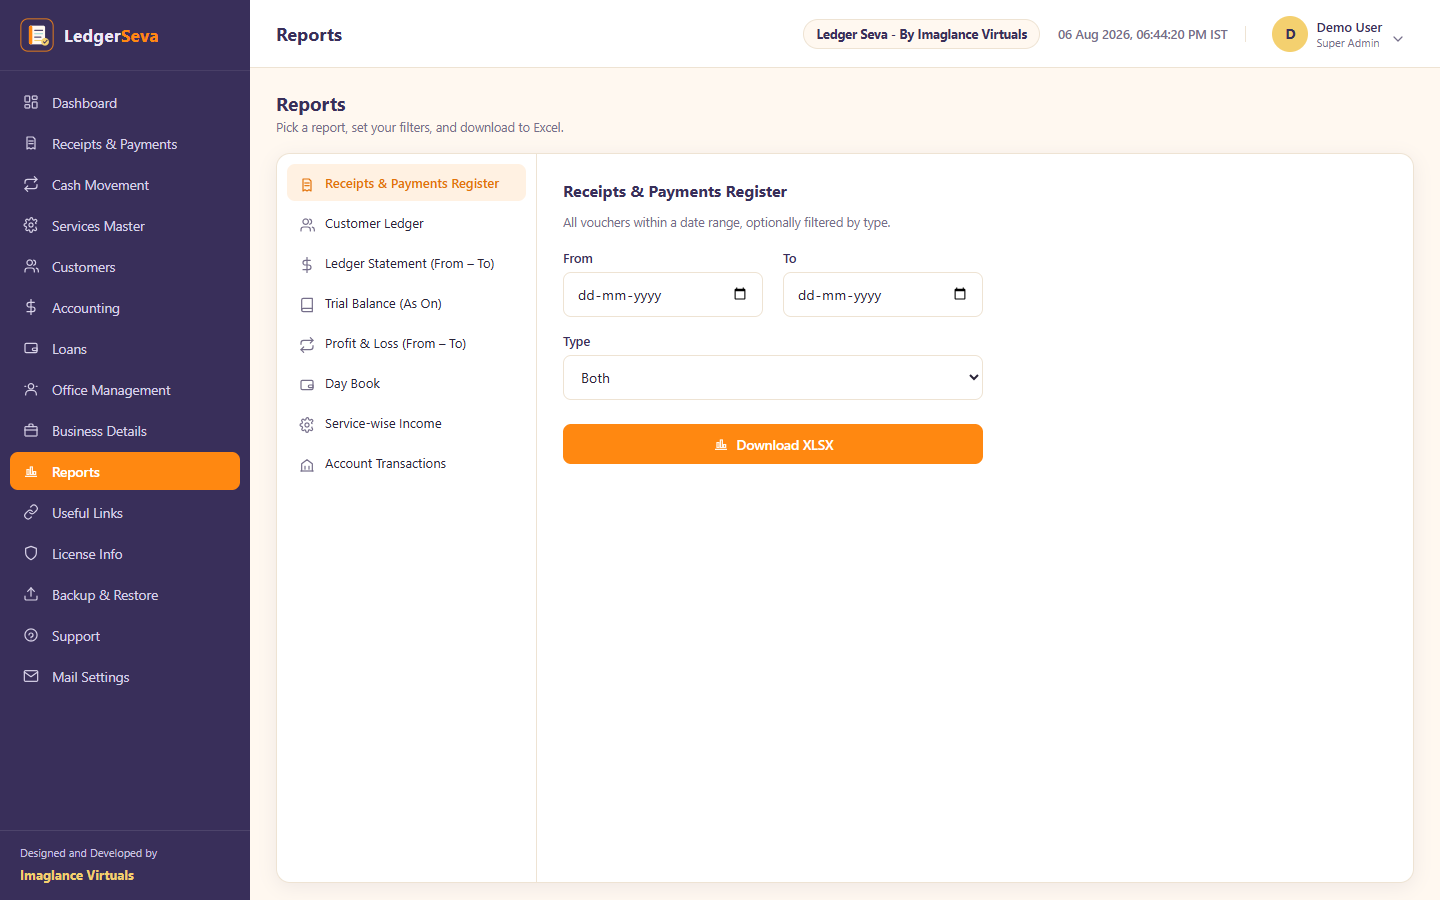
A dedicated reporting centre for exporting your data as Excel workbooks — everything from a simple receipts register to a full Profit & Loss statement.
Available Reports
- Receipts & Payments Register — all vouchers in a date range, optionally filtered by type.
- Customer Ledger — full transaction history for one customer.
- Ledger Statement — opening, movements, and closing balance for one ledger over a date range.
- Trial Balance — the balance of every ledger as of a chosen date.
- Profit & Loss — income and expense ledgers only, correctly excluding Cash Movement principal.
- Day Book — a daily summary of receipts versus payments with running totals.
- Service-wise Income Summary — income and commission collected per service.
- Account Transactions — every voucher through one specific Cash/Bank account.
- Receivables — Running Balance or As On Date views of Credit-sale money owed by customers; see Credit Sales & Receivables.
Generating a Report
Useful Links
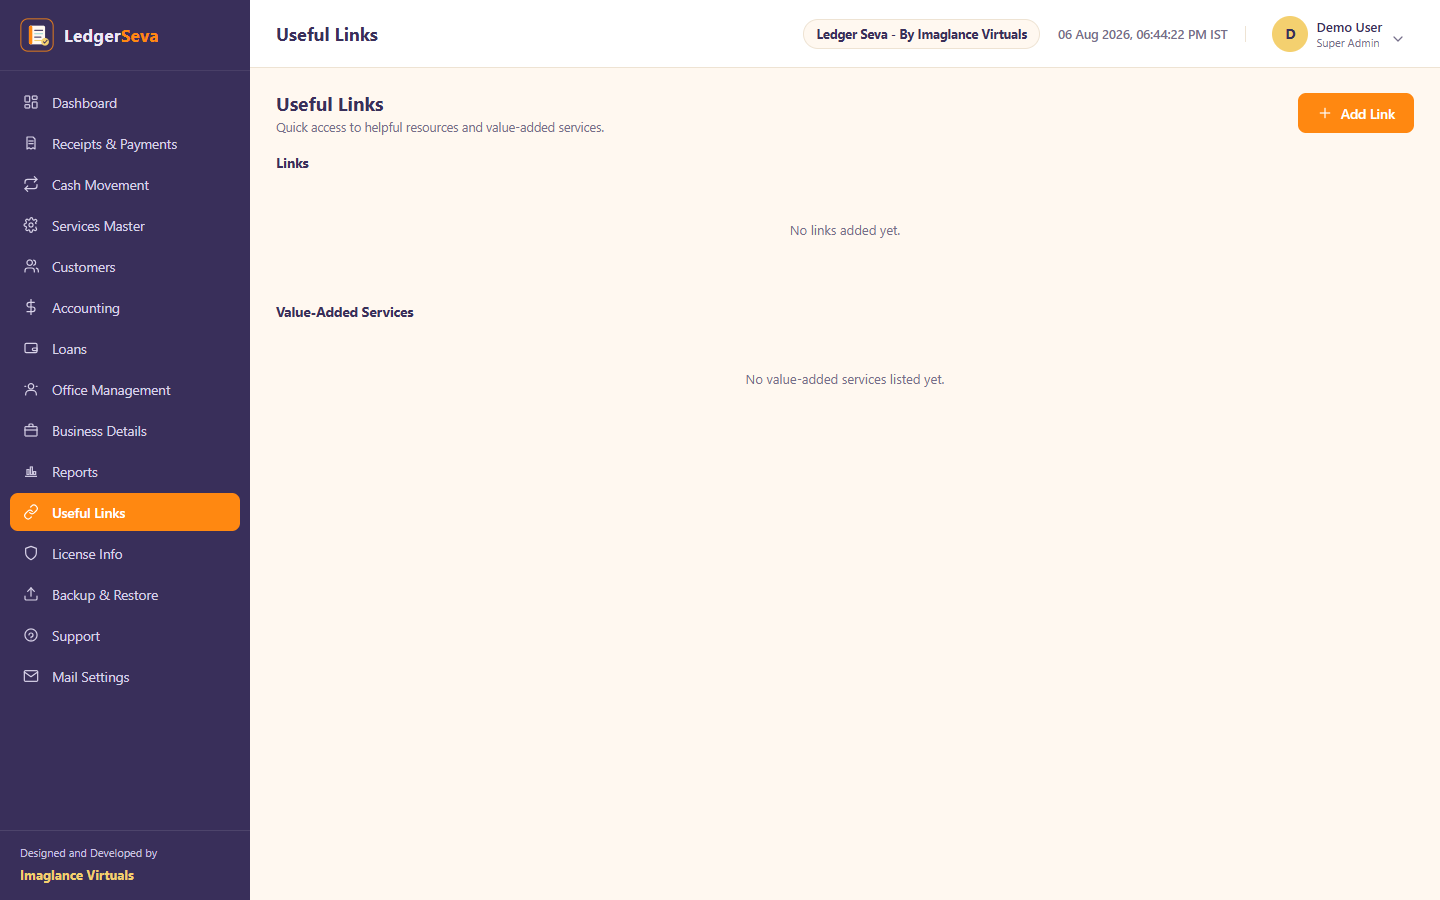
A simple, centralised place to store and quickly access web links your team uses regularly — government portals, supplier sites, or internal resources — so the whole team works from the same bookmarks instead of everyone keeping their own.
Adding a Link
License Info
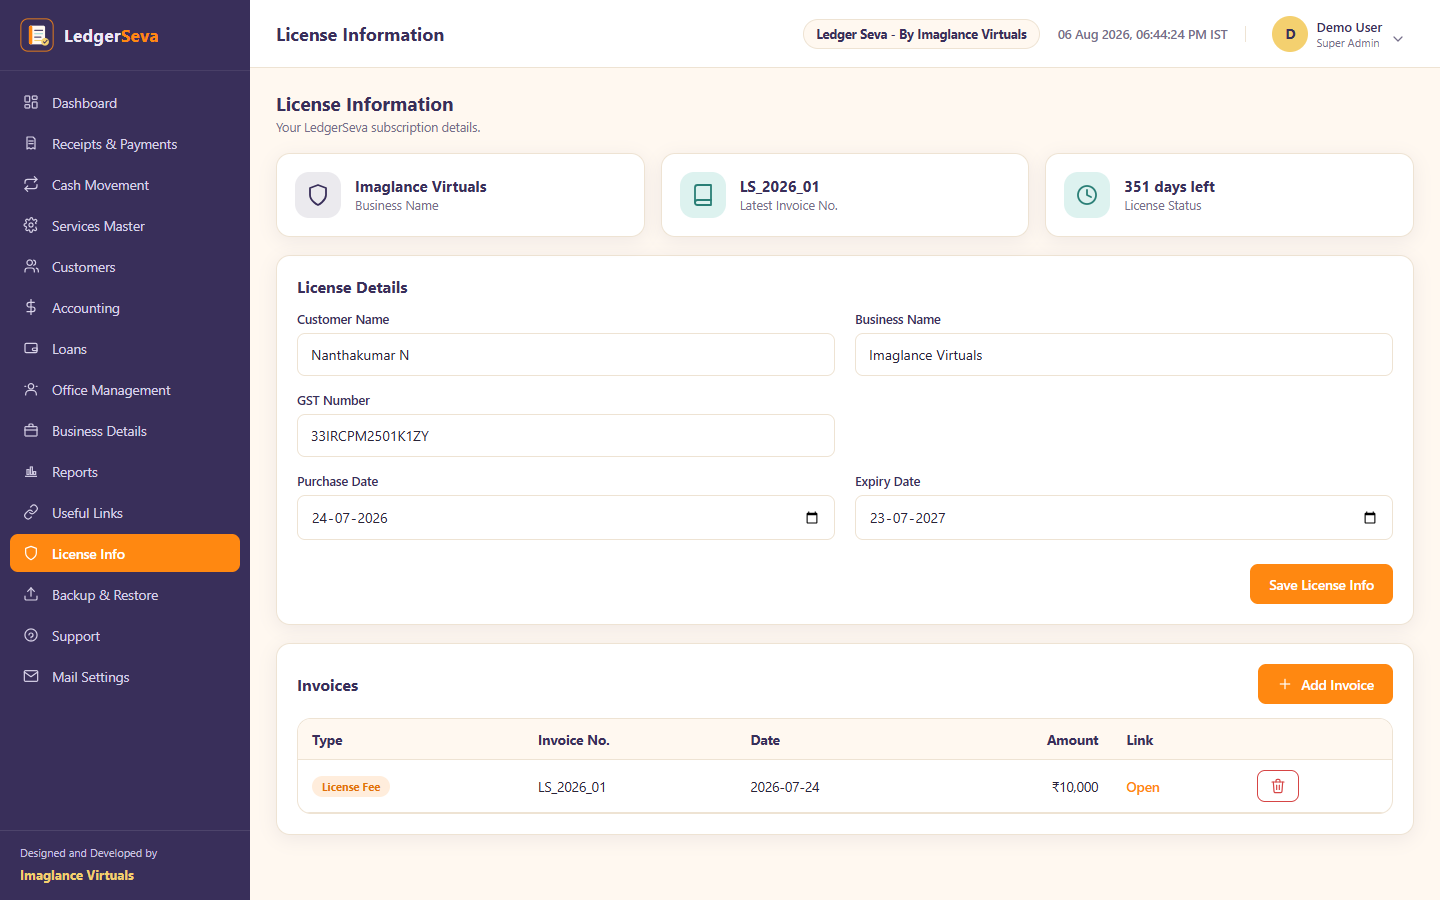
Tracks the centre's own licensing details and any associated invoices — a Super Admin function for editing, with Admin having view-only access and Staff having none.
License details
Customer Name, Business Name, GST Number, Purchase Date, and Expiry Date — a snapshot of the centre's licensing relationship, independent of the day-to-day Business Details page.
Invoices
Below the license details sits a running table of invoices, each tagged as either License Fee or VAS Payment, with an invoice number, date, amount, and an optional link to the invoice document.
Backup & Restore
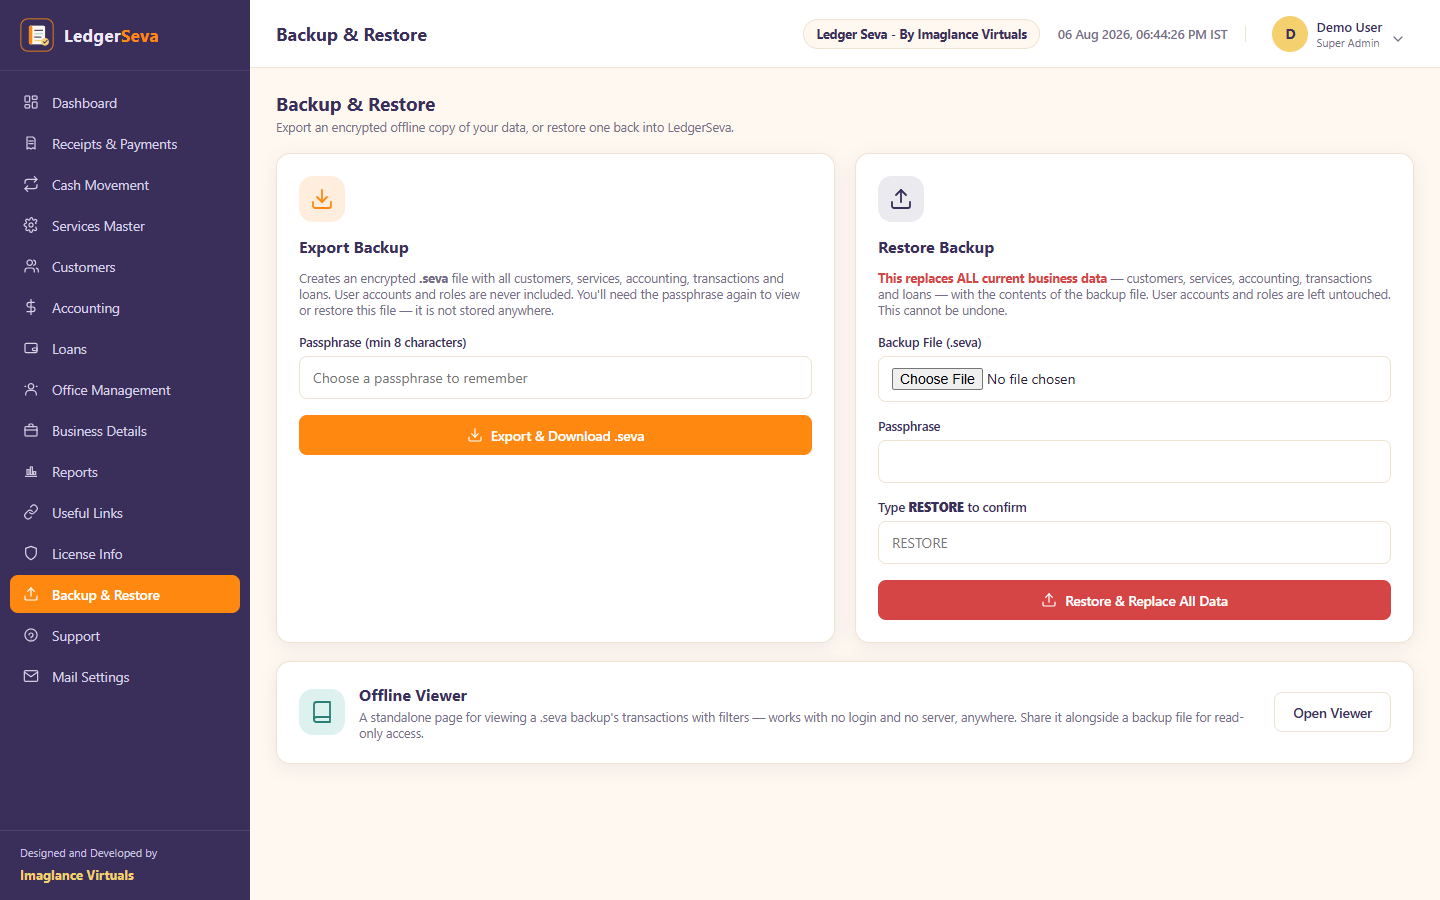
Gives you full ownership of your business data through encrypted, downloadable backups — independent of LedgerSeva's own hosting.
Exporting a Backup
Choose a passphrase (minimum 8 characters) and export an encrypted .seva file containing all customers, services, accounting data, transactions, and loans. User accounts and roles are never included.
Restoring a Backup
Restoring completely replaces all current business data with the contents of the backup file — this cannot be undone, which is why the form requires typing RESTORE to confirm. Deliberately restricted to the Super Admin only, given how destructive it is.
Offline Viewer
A standalone, self-contained HTML page lets anyone view a .seva backup's transactions with filters, with no login and no server required.
Support
A simple, always-visible place to reach the LedgerSeva team directly — by email or WhatsApp — without hunting for contact details elsewhere. Available to every role.
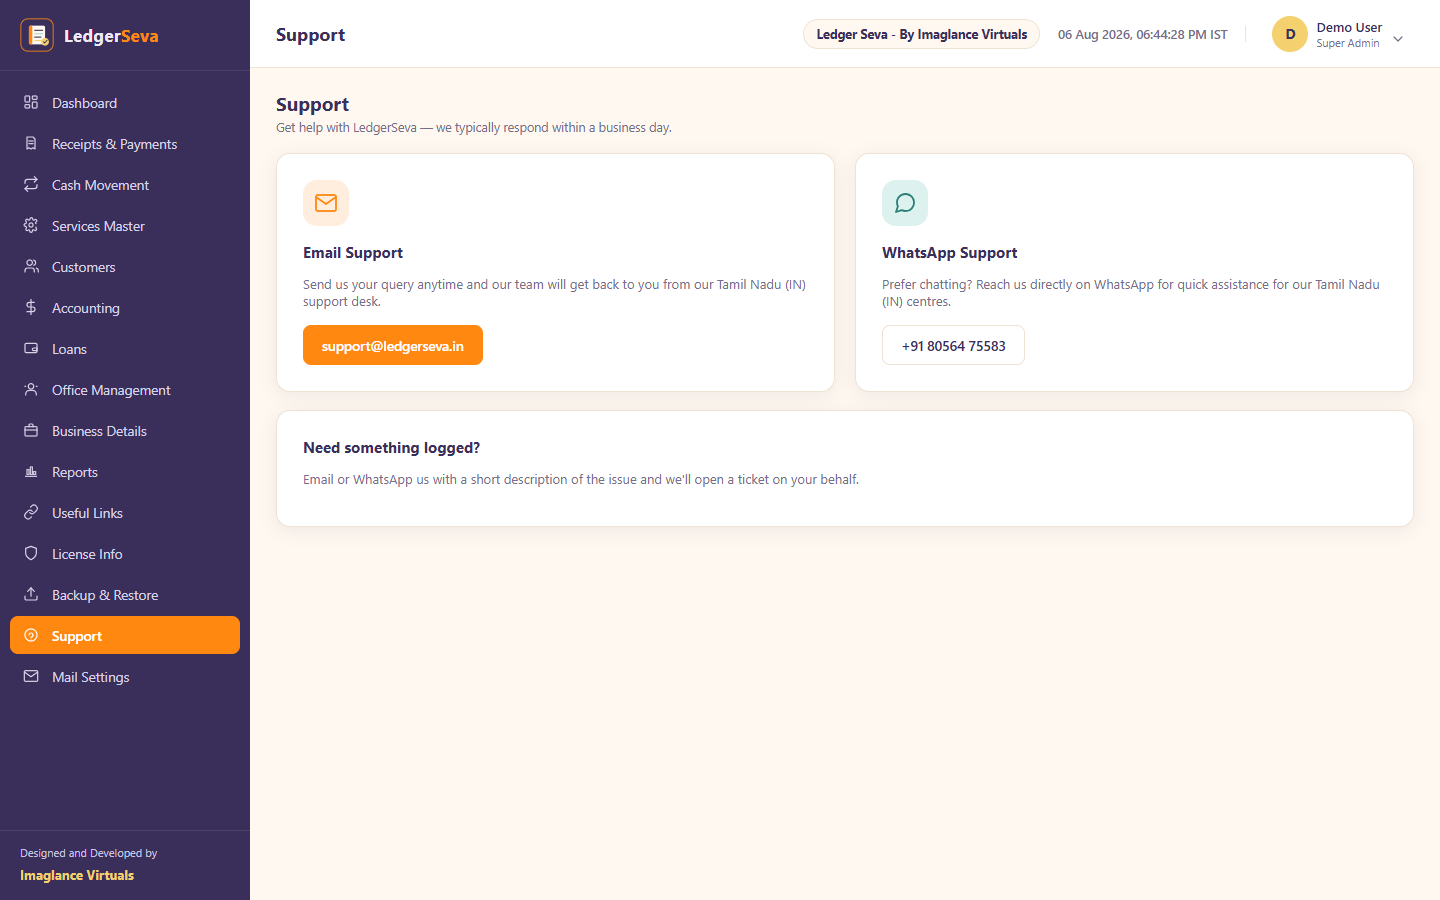
Send a query to support@ledgerseva.in any time; the team typically responds within a business day.
Message the support number directly for faster, conversational help.
My Profile
Every user can update their own display name and change their password from this page — accessible from the user menu in the top-right corner.
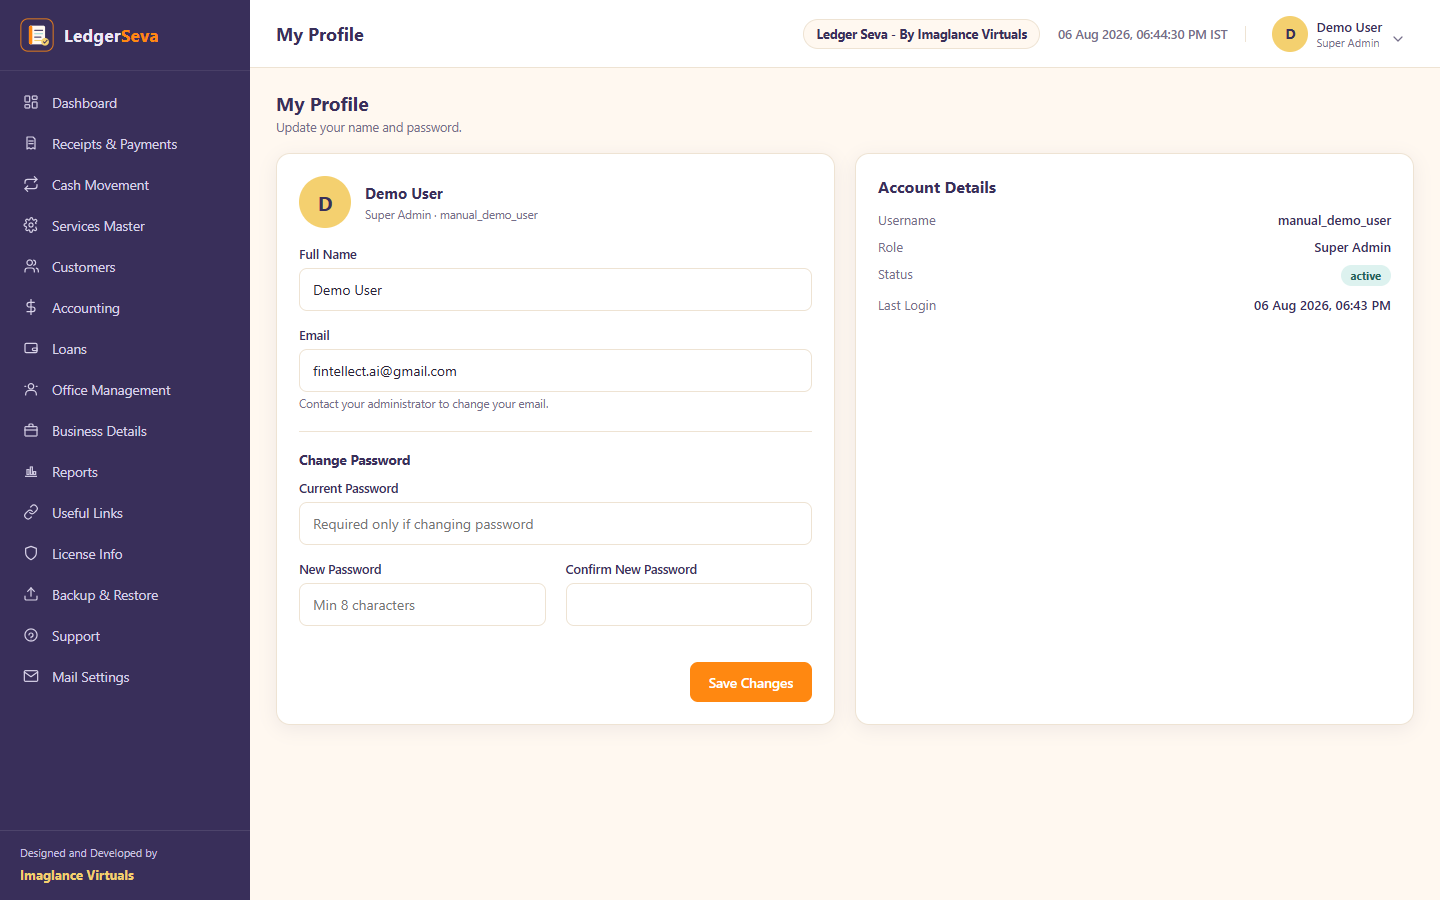
Changing your password requires entering your current password first. The new password must be at least 8 characters and match its confirmation field.
Security Notes
Every login — regardless of role — requires both a password and a one-time email code. This cannot be disabled.
5 consecutive failed password attempts locks an account for 15 minutes.
New accounts and password resets always require setting a new password on first login.
Permission Boundaries
The Admin role can manage most day-to-day operations, but is deliberately blocked from changing role permissions, resetting the Super Admin's password, or modifying Support/License Info content — these stay Super-Admin-exclusive regardless of what permissions are granted elsewhere.
Data Ownership
Encrypted, exportable backups mean your business data is never locked into the platform — you can export, inspect offline, and restore it independently at any time.